NESPi Project Part 2 – The Case, bottom part
In the second part we will look at the bottom case. How to unscrew all electronics and how to clean and restore the case.
Quick Guide
- Remove all components in the bottom case.
- Clean the case, protect all original stickers with covering plastics.
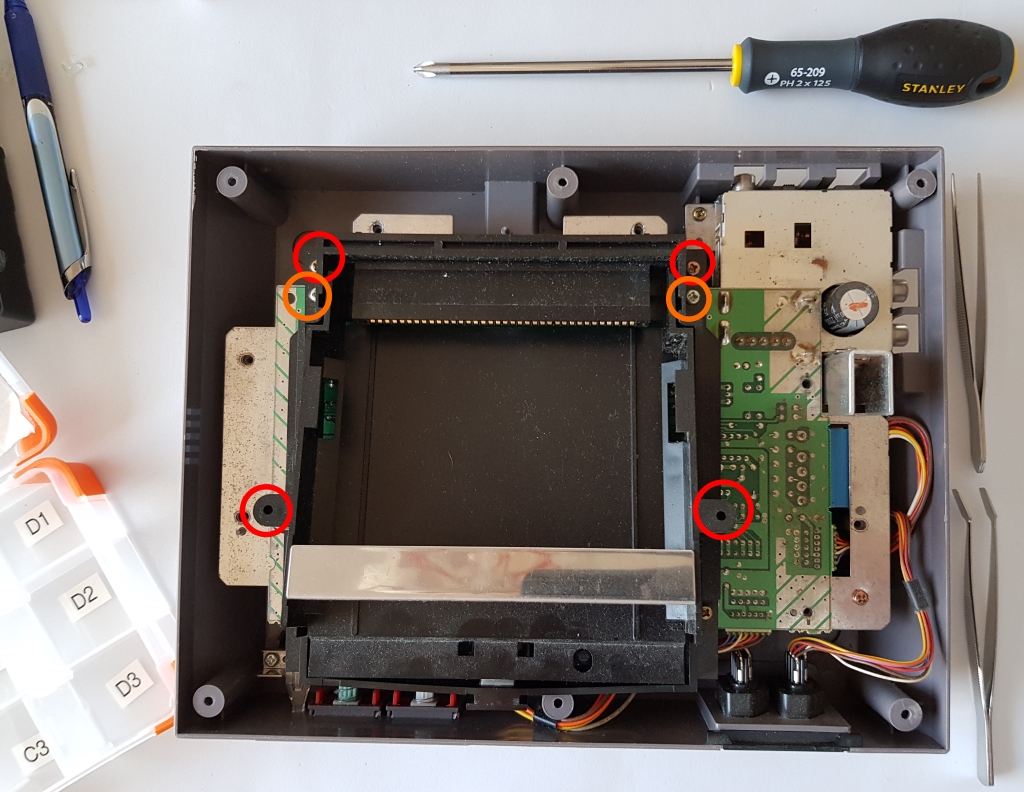
Step 1 – Remove All the Components
Remove the screws holding the RF shield (six screws):

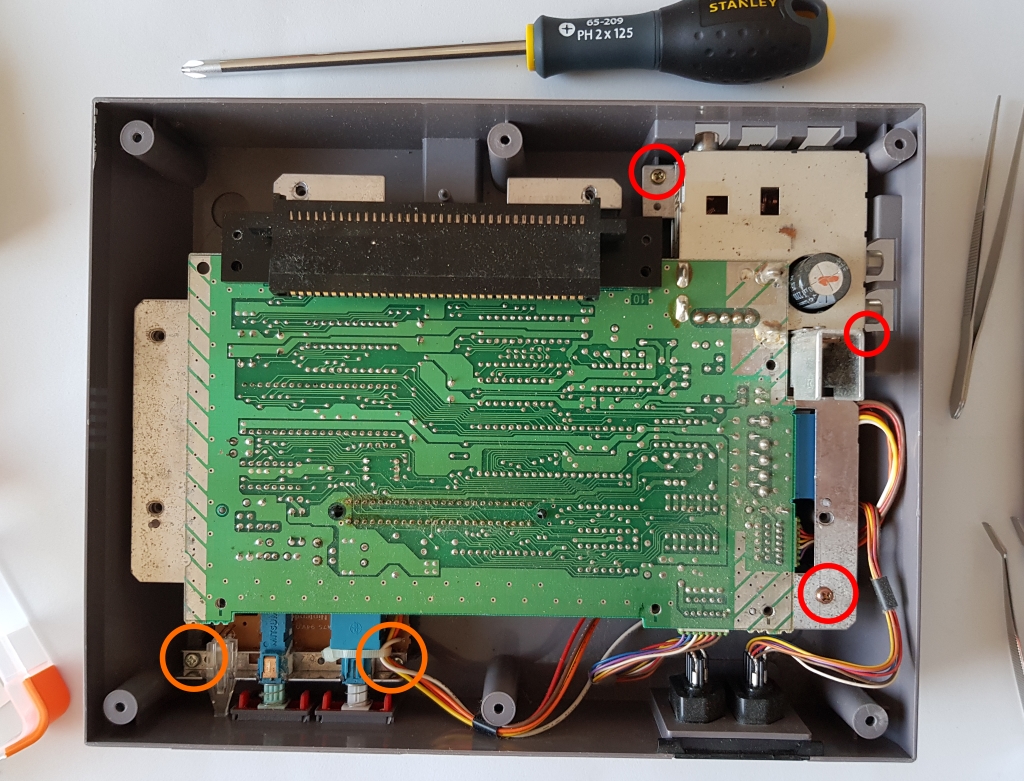
Remove the cartridge slot (two longer screws, orange), (four ordinary screws, red):
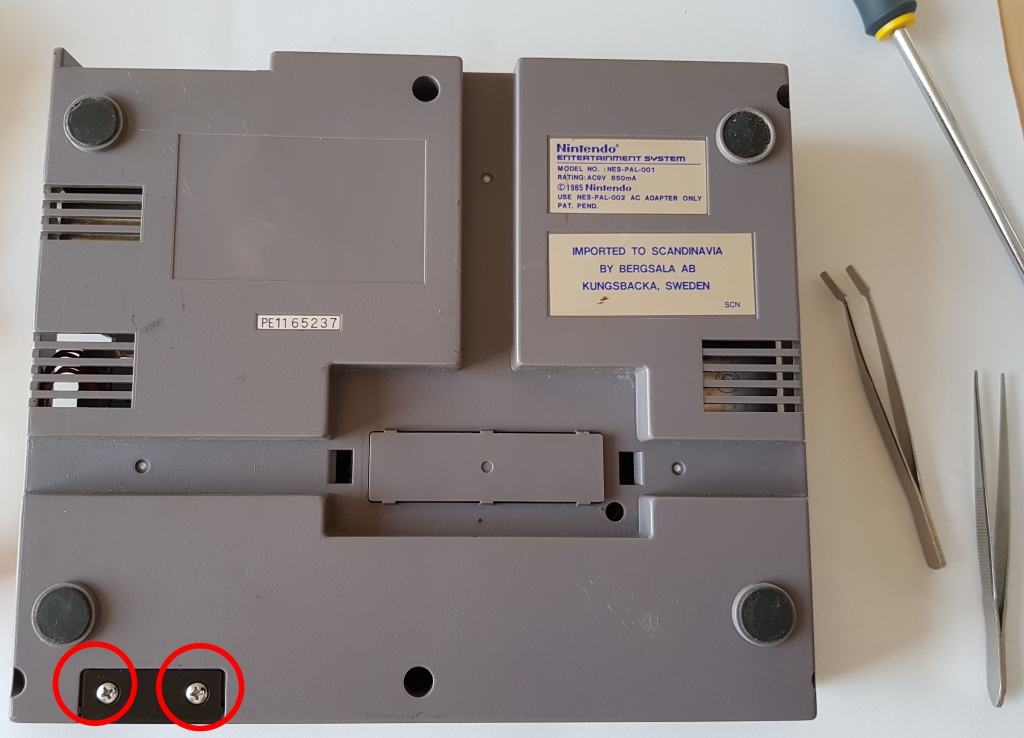
Remove the screws for the controller ports (two very short screws under the case):
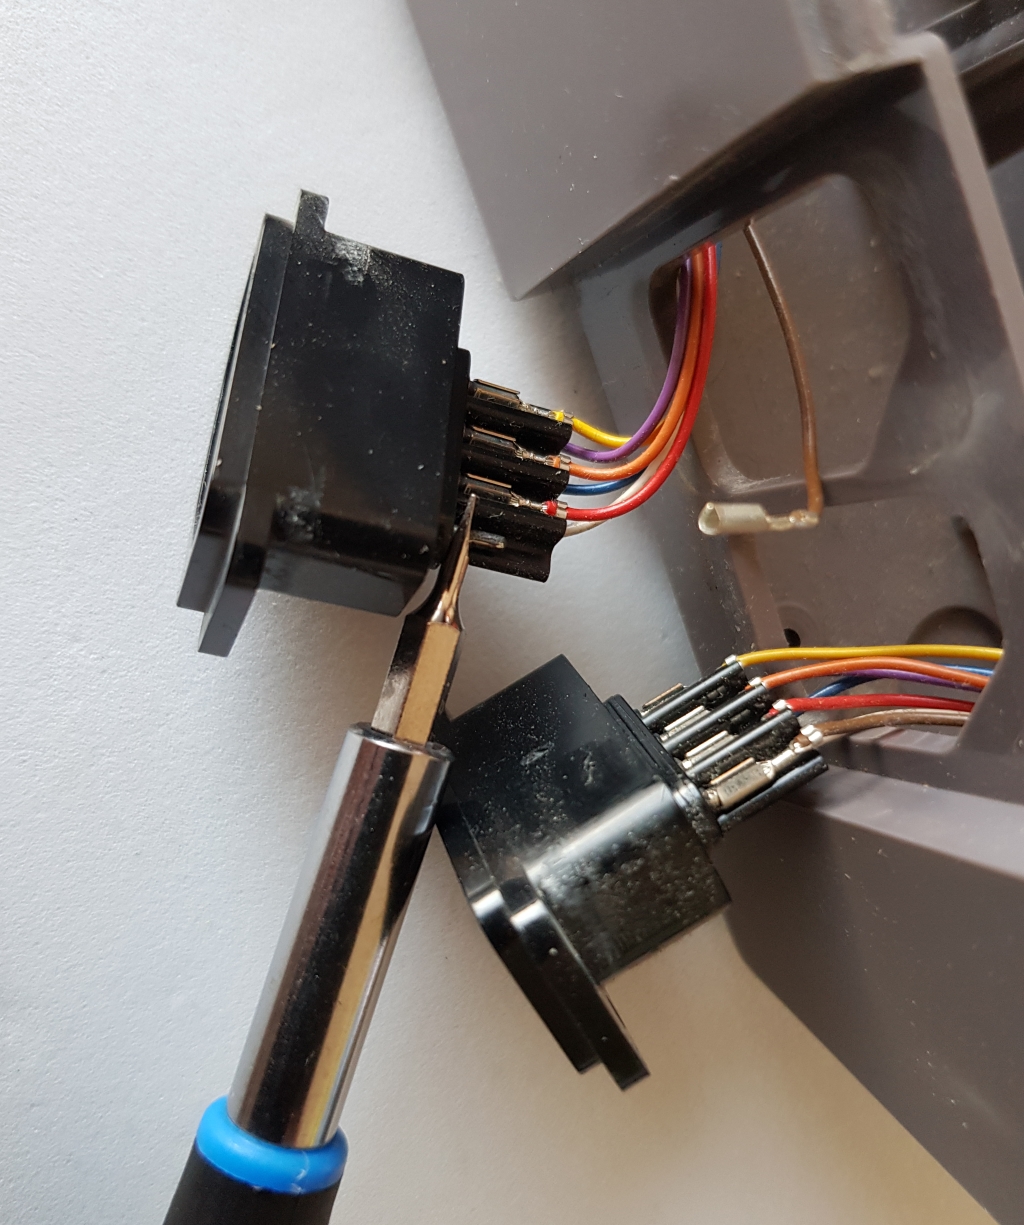
Gentle remove the plastics holding the controller ports, then remove the cable lugs:
Now, remove the final screws. Two smaller screws for the power and reset button’s board (orange). And three screws holding the main board (red):
Now you can remove everything attached to the case. Be prepared to see a lot of dust!
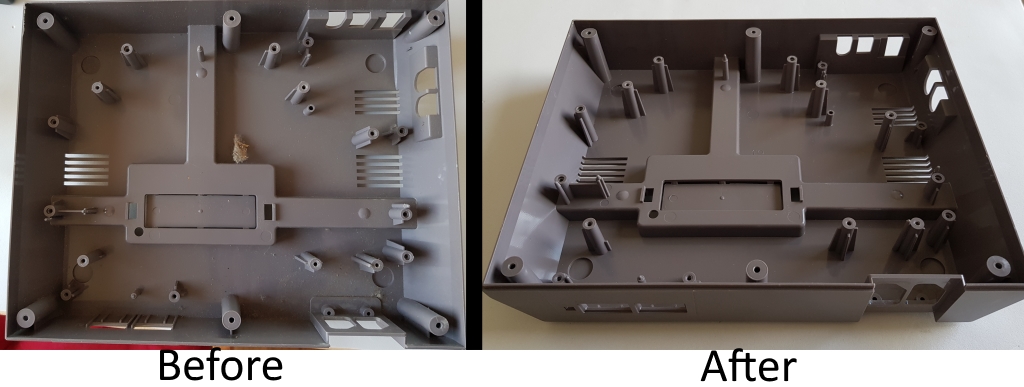
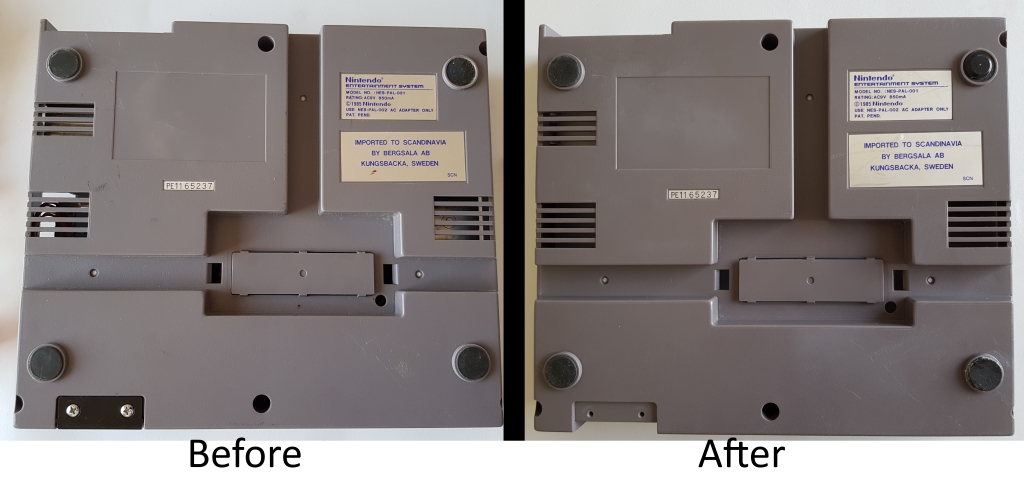
Step 2 – Cleaning
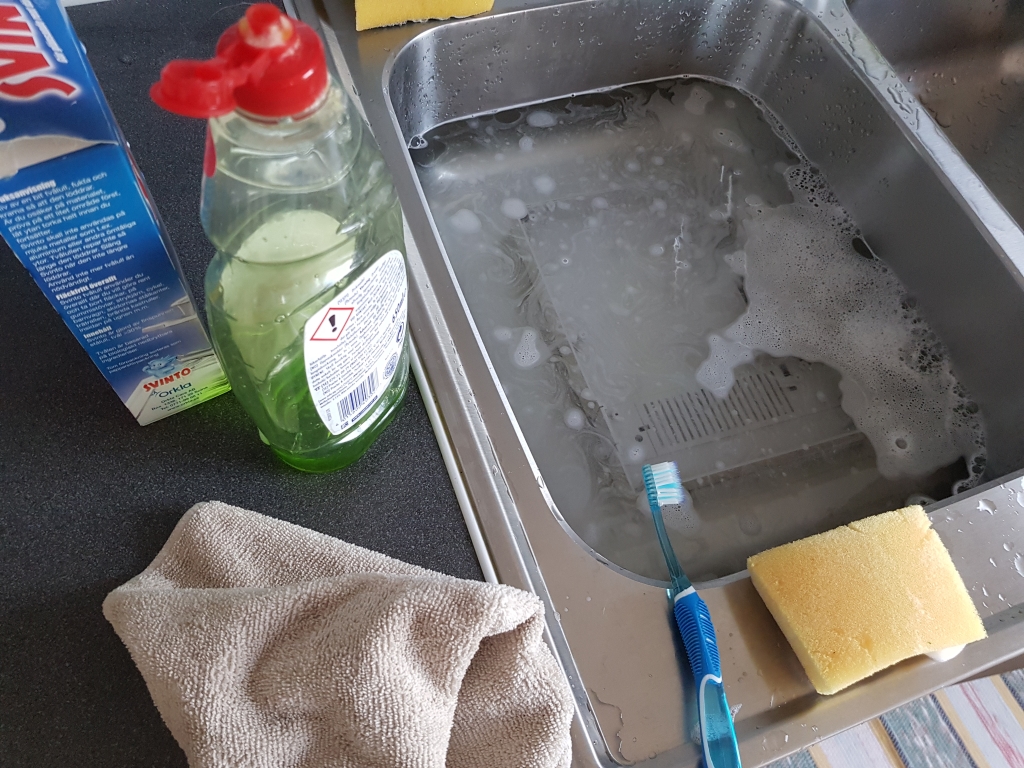
Just like the top case in part 1 of this blog series, I cleaned the bottom case in warm water and soap. But before I did that I paid extra attention to the original stickers. I cleaned the stickers gently with a microfiber towel. After that I cut small pieces of hard plastics and applied them with scotch tape over the stickers. I did that to protect them from the water. Immediately after I cleaned the case I removed the scotch and the plastics.
Image of the small plastic pieces to protect the stickers:

Info. I also retro brighted the case for a few hours. Before I applied the hydrogen peroxide I used the same small plastic pieces to protect the stickers on the bottom and on the sides.
Image from part 1 in this series. Cleaning in warm water and soap:
Step 3 – Rubber feet
Info. There are after market rubber feet to buy for the NES.

- I glued one loose foot back with super glue.
- I bought the best rubber feet I could find in my local electronics store.
Step 4 – Conclusion
Not much to say. This blogpost was much about cleaning.