NESPi Project Part 6 – Main Board and Extension Cables
In this blog post I will show you how to make a board of acrylic plastic to mount the Raspberry Pi on. The board will be similar in size and will reuse all the screw holes the original PCB made use of. We will also look at how to make extension cables to later access USB ports and ethernet port.
Quick Guide
- Make a template of thin plastics to use and reuse for finding the right spots for the screw holes.
- Make the board of 2mm thick acrylic plastics.
- Mount the Raspberry Pi.
- Add the extension cables.
Step 1 – Make a template
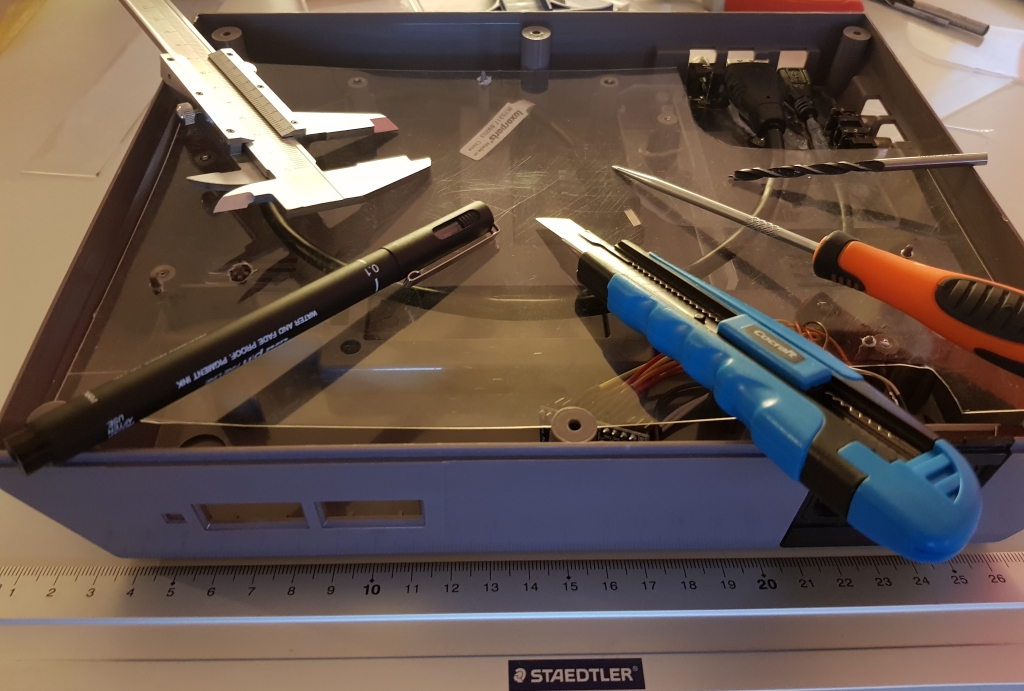
I’m using a thin plastic piece to cut out the measurements and the screw holes. Here are all the tools I use for this:
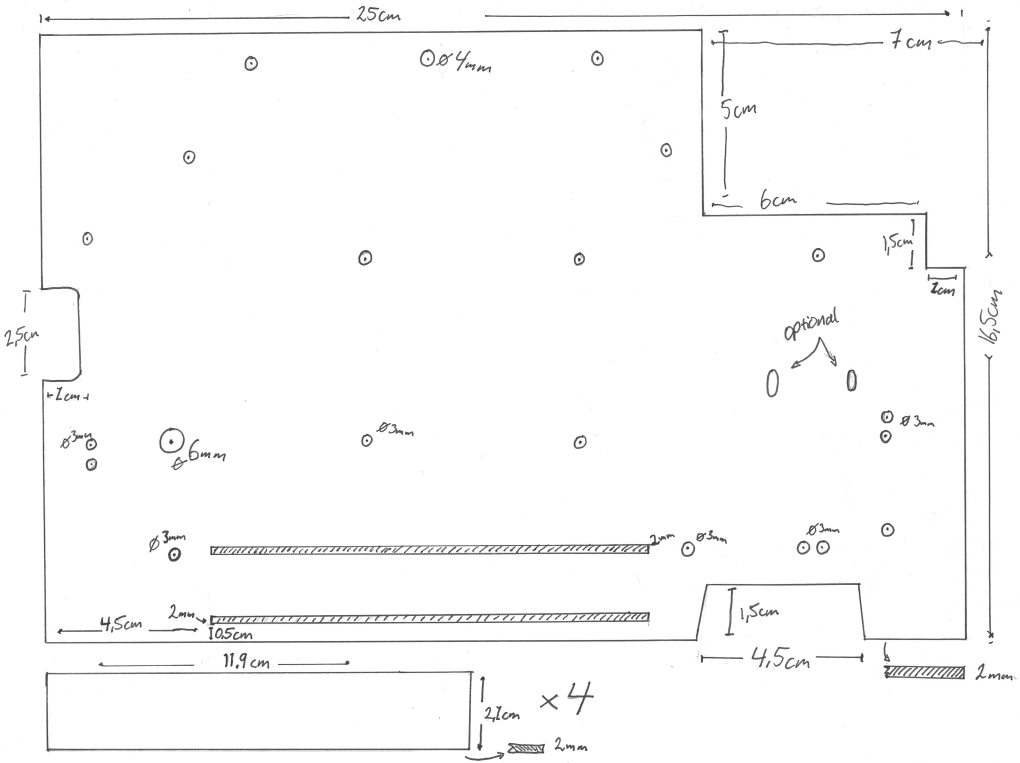
The template looks something like this:
Step 2 – Make an acrylic board
Back to the workbench:
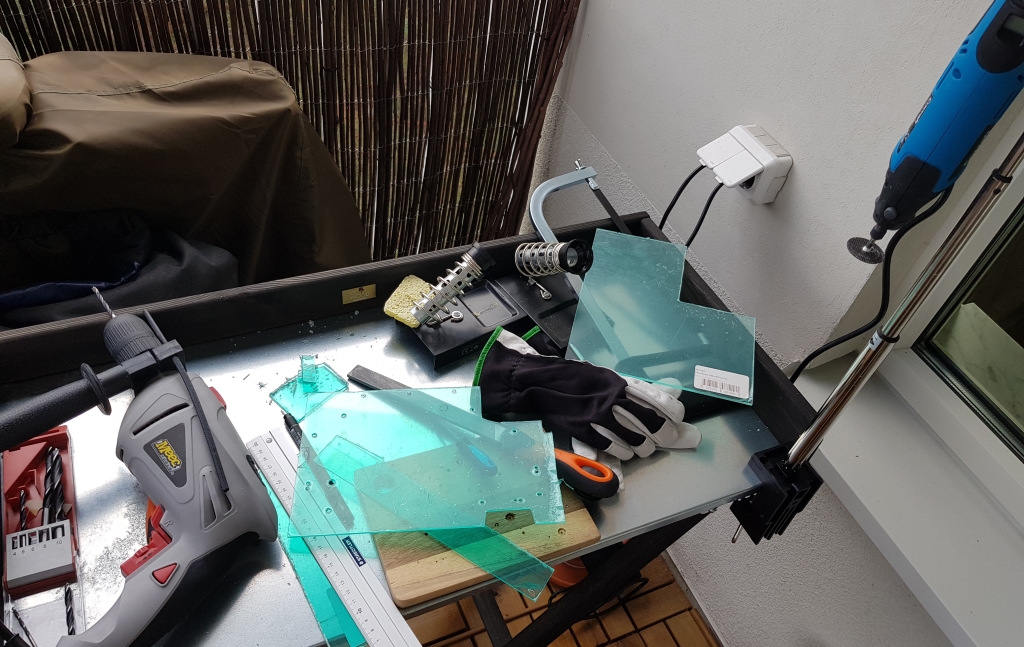
Info. Acrylic plastics comes with a protective film on the surface. The protective plastic is often coloured, so it looks like the acrylic have some colours, but once removed there is no colour. Let the film stay on as long as possible to protect the surface.
Note. With this approach the acrylic board will be a part of the NES case’s construction, just like the PCB once where.
When the pieces are ready it’s time for some acrylic glue:

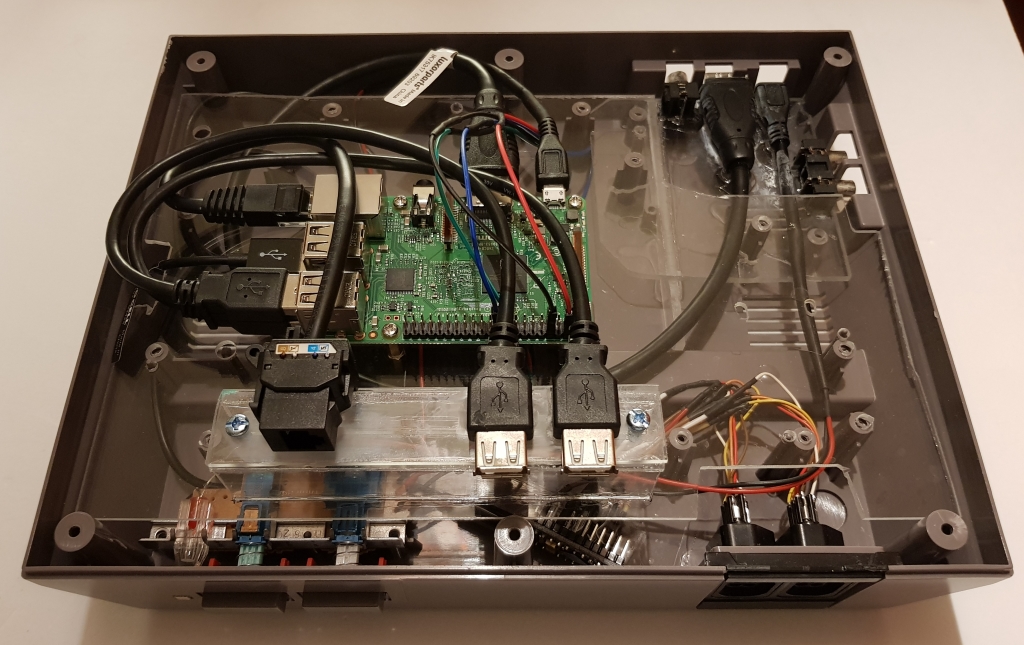
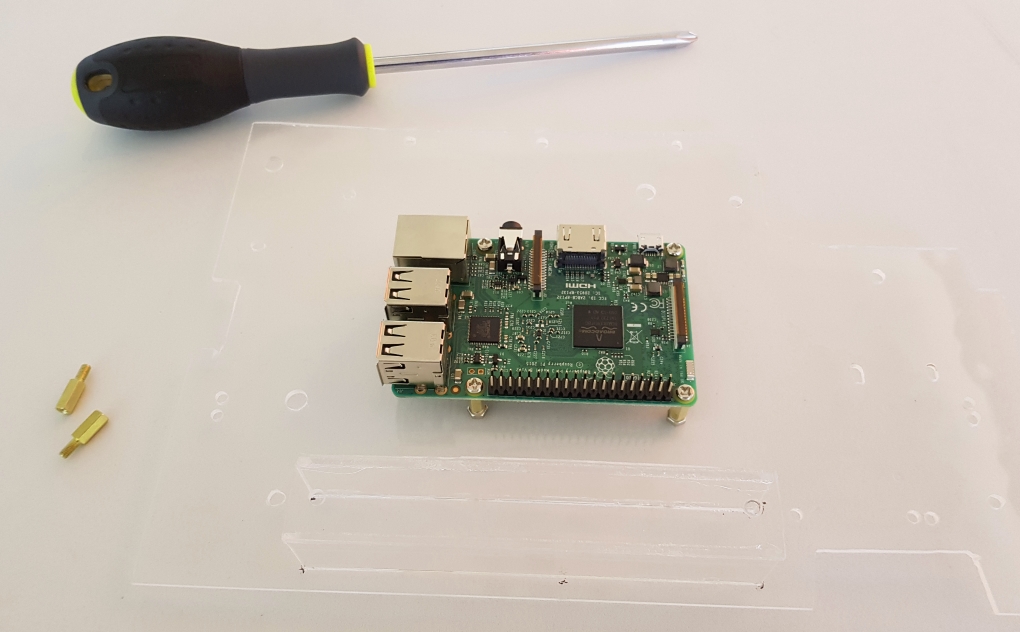
This is how it looks like with the Raspberry Pi:
Step 3 – Extension cables
I made a small board of acrylic for just the extension cables. With this approach I can make a new board with extension cables and replace the old one without damaging the main acrylic board. A realistic scenario when this might happen, is if I want to replace the Raspberry Pi with another single-board computer or another model of Raspberry Pi, which not uses these cables, maybe USB-C.
This is how the board for extension cables looks like:
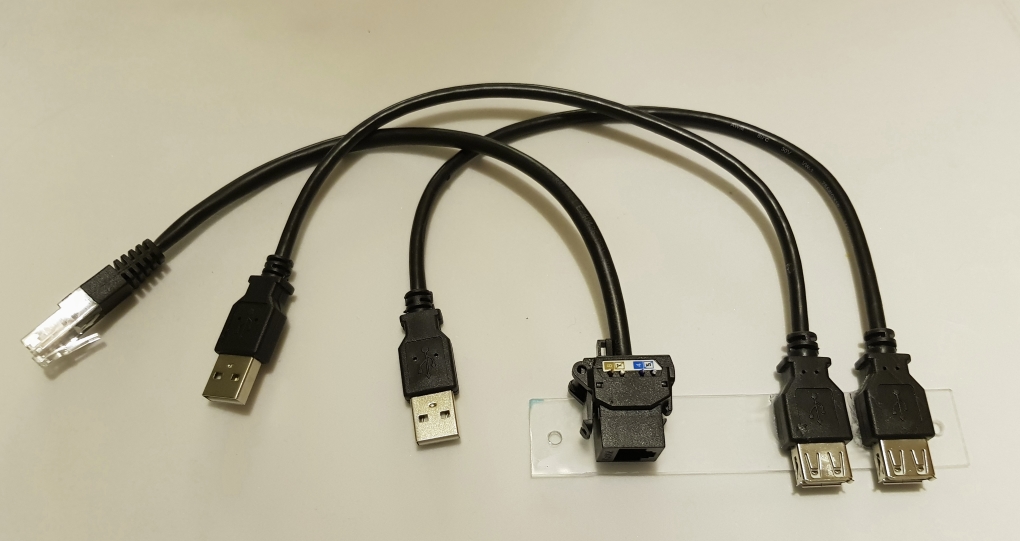
Two USB extensions and one ethernet port.
Info. Each cable 0.3 meters.
Step 4 – Conclusion
This is how everything looks like once in place: