NESPi Project Part 8 – Reset Button and Reset Script
Okay, this post will be about how to utilize the NES reset button. When I push the RESET button, the RetroPie will shut down. That means that I don’t need to shut it down from the GUI or via a command.
To cut cost, the Raspberry Pi doesn’t come with a power on/off switch, you have to make this on your own, if you need/want one (most people just pull off the plug from the socket). However, if you don’t make a button for this, you should always turn off the Pi from software, either by a command or via a GUI. In RetroPie, you do this in the menu and under QUIT. If you don’t, there is a small chance of corrupting the SD card, your hard drive.
Quick Guide
- Exit to terminal, hit f4.
- Get the GPIO pin info.
- Write the Script.
- Schedule the Script
Step 1 – Exit to Terminal
The easiest way to exit to terminal is to press f4.
You will see: pi@retropie:~$ and a flashing marker.
By default, you will be under /home/pi in the file hierarchy, even if the terminal window don’t give a hint about it (pi in this example is the user). Test this by entering cd .. two times (the command changes directory one step up in the directory/folder hierarchy).
Tip. In terminal, you can reuse the last command by pressing the key arrow up.
You will now see pi@retropie/$ this is the root folder, you can’t go any higher up. Enter dir and the command will list all files and directories under root. Here you can see the home folder you just went up from.
Re-enter folder home by typing cd home. Type dir again, and you will get a list of all users on the computer. In my case I only have pi. Enter pi by typing cd pi.
Okay, by all these commands, I just wanted to show you that pi@retropie:~$ is the same as pi@retropie:/home/pi $. We need this knowledge later when we will schedule the script for the reset button.
Step 2 – Get the GPIO pin info
I have a Raspberry Pi 3 model B. I’ve got the info about the pins for python (we will use python for this script) from https://pythonprogramming.net/gpio-raspberry-pi-tutorials/:
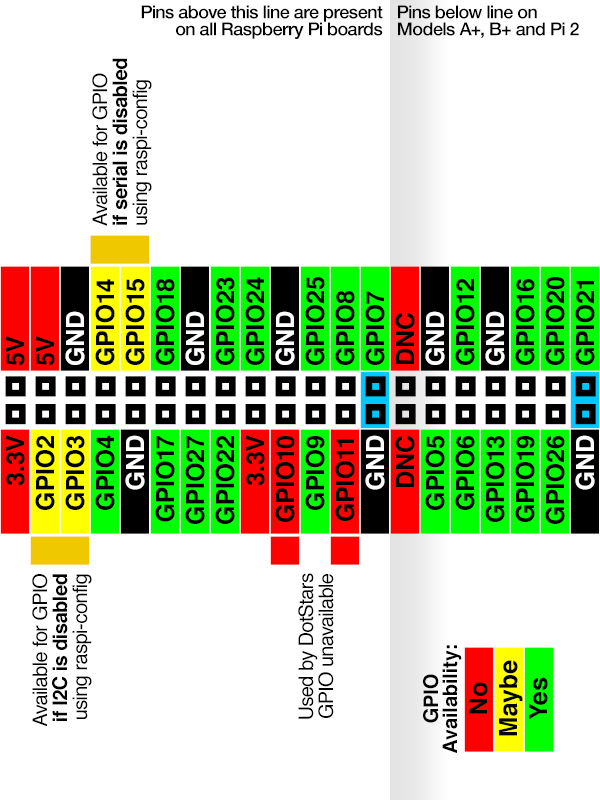
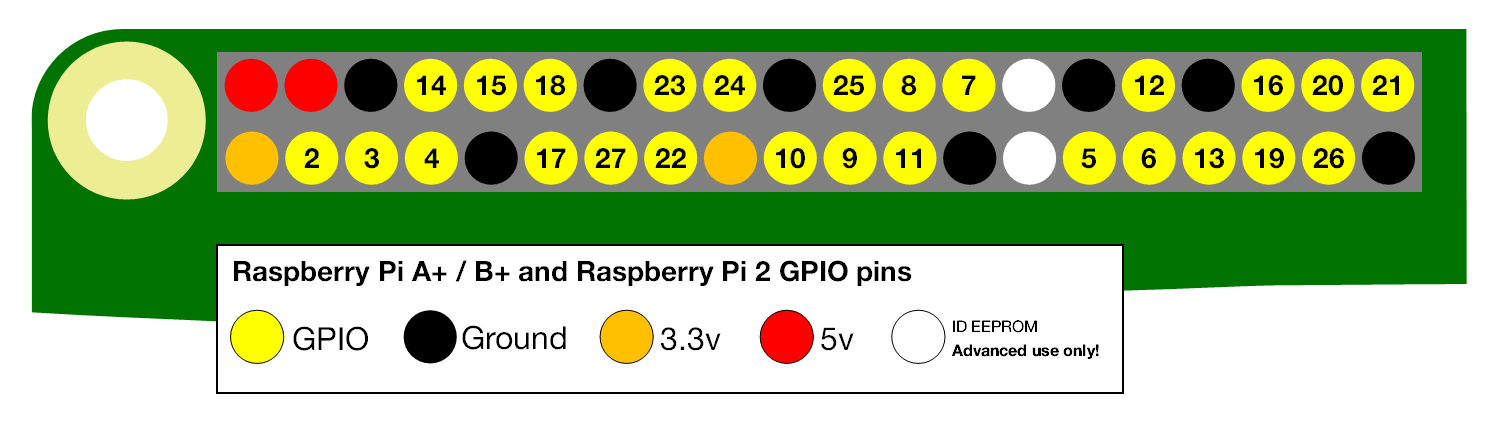
Compare it with the images from the official Raspberry Pi documentation: https://www.raspberrypi.org/documentation/usage/gpio/
Note that Raspberry Pi 1 don’t have this layout of pins! If you are working on a Raspberry Pi 1 please browse the web to see what you need.
The cables from the Reset button are connected to GPIO pin #23 and #24.
Step 3 – Write the Script
We will write a piece of code in a script that will always listen if the button is pressed or not. If the button is pressed, shut down the Pi. This is how to do it:
Exit to terminal by pressing f4.
Enter sudo nano resetButton.py (sudo gives the command administrator rights, nano is a terminal built in editor we can write code in or browse file content. resetButton.py is the name of the file we will create, the ending *.py indicates that it is a python file)
Enter the following in the nano editor:
resetButton.py :
import RPi.GPIO as GPIO
import os
import time

GPIO.setmode(GPIO.BCM)
GPIO.setup(23, GPIO.IN, GPIO.PUD_DOWN)
GPIO.setup(24, GPIO.OUT)
print(“Hello World from resetButton.py”)
GPIO.output(24, True)

while True:
	if GPIO.input(23):
		os.system(“sudo shutdown -h now”)
	time.sleep(0.4)
Exit nano editor by ctrl + X type Y to accept the changes and exit back to terminal.
Tip. Cancel a running script by Ctrl+C, this is usefull if you are stuck in a loop and want to exit.
| Code | Explanation |
|---|---|
| import RPi.GPIO | Lets us make use of the python library to control the GPIO pins on the Pi. |
| import time | We need this library to “halt” the code in each loop, don’t waste too much CPU power. |
| import os | Library that lets us send terminal command from the running code/script. |
| GPIO.setmode(GPIO.BCM) | Remember the image with the GPIO numbering for python programming? This piece of code lets us use that convention. |
| GPIO.setup(23, GPIO.IN, GPIO.PUD_DOWN) | Pin 23 will be an input pin (listening for electrical current), with a built-in pull-down resistor activated. Always use pull up/down resistors with input pins. If not, they may give false readings. Pulldown resistor will by default drag down to 0V if there is no incoming signal. |
| GPIO.setup(24, GPIO.OUT) | Set pin 24 to be able to send electrical current. |
| print(“Hello World from resetButton.py”) | First time the script runs from the scheduler, you will see on boot this message. It is just nice to have, to get some feedback that the script is activated on boot. We will schedule it later in this post. |
| GPIO.output(24, True) | Set pin 24 default to True, +5V |
| while True: | The loop will be infinitive. Always run. |
| if GPIO.input(23): | If reset button is pressed, the code inside the if statement will execute. |
| os.system(“sudo shutdown -h now”) | This piece of code will tell the Pi to shut down. If you want the button press to correspond to another command e.g. sudo reboot, just change it here. |
| time.sleep(0.4) | We don’t need to loop every single millisecond or as fast the processer can do it, this will give a delay of 0.4 seconds, that is enough to check for a button press. |
Step 4 – Schedule the Script
Time to make the Pi run the script automatically.
I found this good website: https://www.dexterindustries.com/howto/run-a-program-on-your-raspberry-pi-at-startup/, the author explains different methods and pros and crons to schedule script in Raspian. I used rc.local, it will run the script on boot.
This is what I did:
- Edit rc.local type sudo nano /etc/rc.local.
- Make sure you type sudo python /home/pi/resetButton.py & before exit 0 and after the last row of the code above.
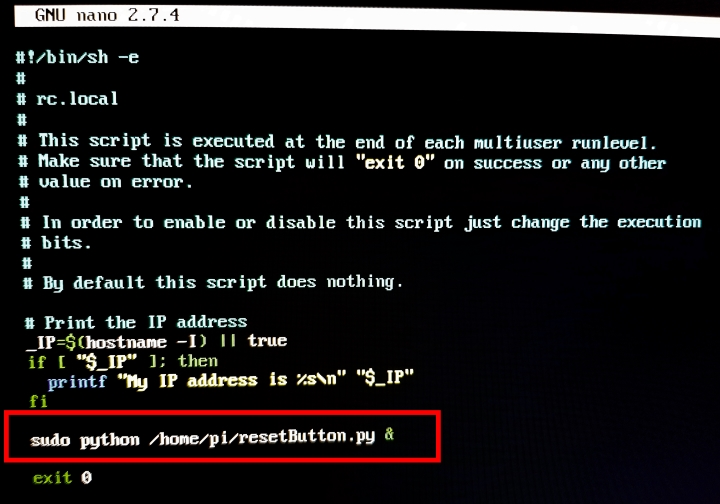
Always write the whole path to the script. The & in the end is very important. Use this if the code has an infinitive loop. It will tell the computer to run this script in its own thread and not together with the boot sequence, otherwise we won’t be able to finish the boot, we will be stuck in the loop created in the script.
- Restart the Pi to test the script. sudo reboot.
References
- Dexter Industries. Run a Program On Your Raspberry Pi At Startup https://www.dexterindustries.com/howto/run-a-program-on-your-raspberry-pi-at-startup/ [2018-10-11]
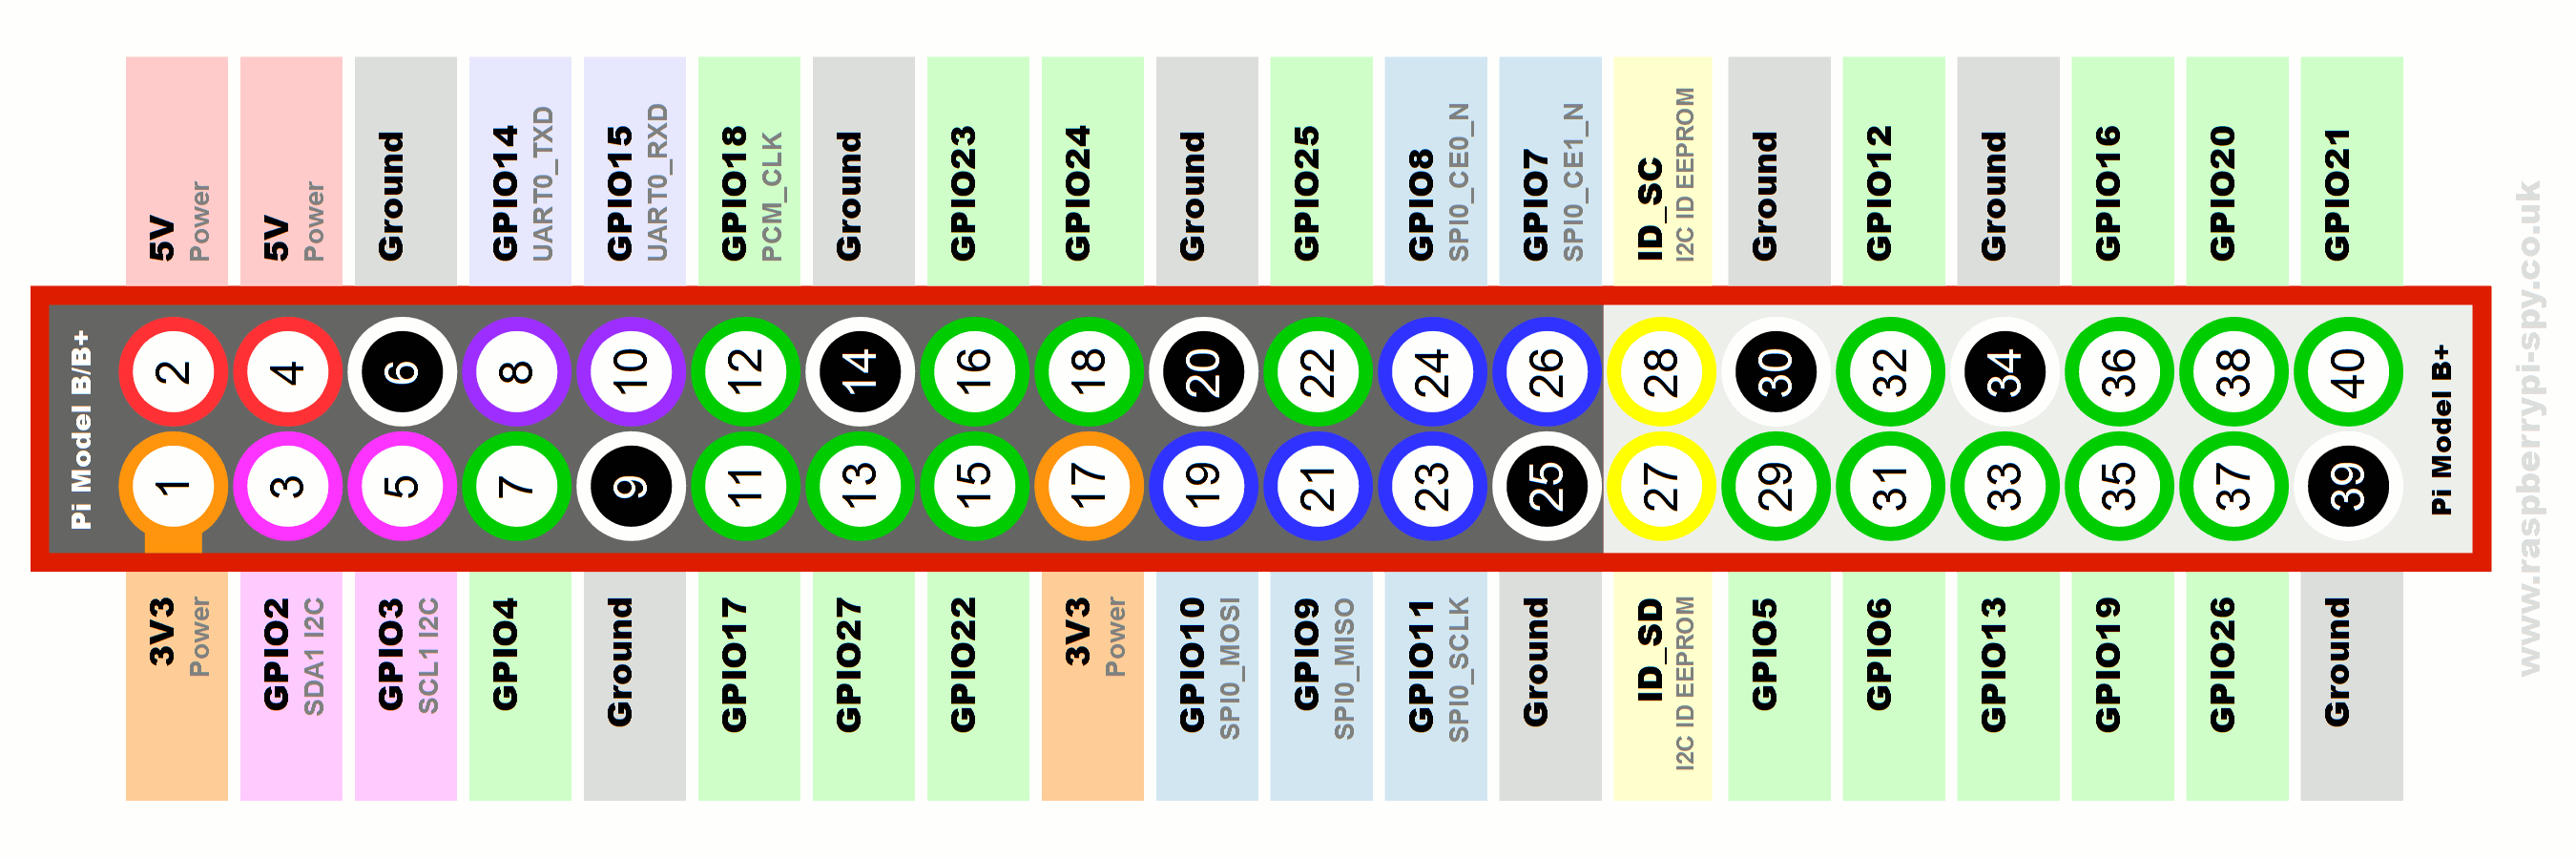
- RaspberryPi.org GPIO – Raspberry Pi Documentation https://www.raspberrypi.org/documentation/usage/gpio/ [2018-10-11]
- Pythonprogramming.net GPIO (General Purpose Input Output) Pins – Raspberry Pi tutorial https://pythonprogramming.net/gpio-raspberry-pi-tutorials/ [2018-10-11]
- Raspberrypi-spy.co.uk Simple Guide to the Raspberry Pi GPIO Header and Pins(Image with pinnumbers) https://www.raspberrypi-spy.co.uk/2012/06/simple-guide-to-the-rpi-gpio-header-and-pins/[2018-11-03]