Install Windows Server 2016 (Hyper-V)
A post with short descriptions and with pictures how to install Windows Server 2016.
Info. Read more about VMs in this post: A Brief Look at Virtualization and Virtual Machines [2019-03-08]
Index
- Download the ISO-file.
- Install a VM from the ISO-file
- Install the OS (Windows Server 2016 Trail)
- Summary
Download Windows Server 2016 ISO (Trail version)
You can download the ISO-file for Windows Server 2016 OS for installation from this page:
https://www.microsoft.com/en-us/evalcenter/evaluate-windows-server-2016?filetype=ISO [2019-03-08]
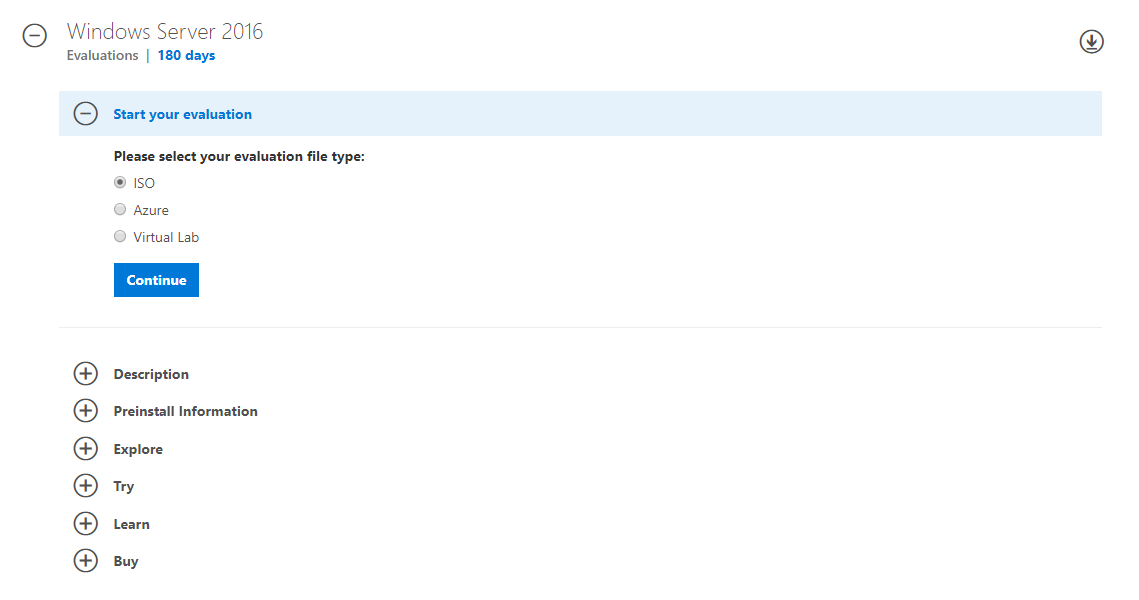
Click on continue, fill in the form and download. Make note of where you download the file.
Info. ISO-file is a file format of a disk, e.g. of a DVD disk. So, installing from an ISO-file would be like putting a DVD disk in the computer with the same software.
Back to Index.
Install a Virtual Machine (VM) from the ISO-file
When you install a VM in Hyper-V, choose the ISO you just downloaded:
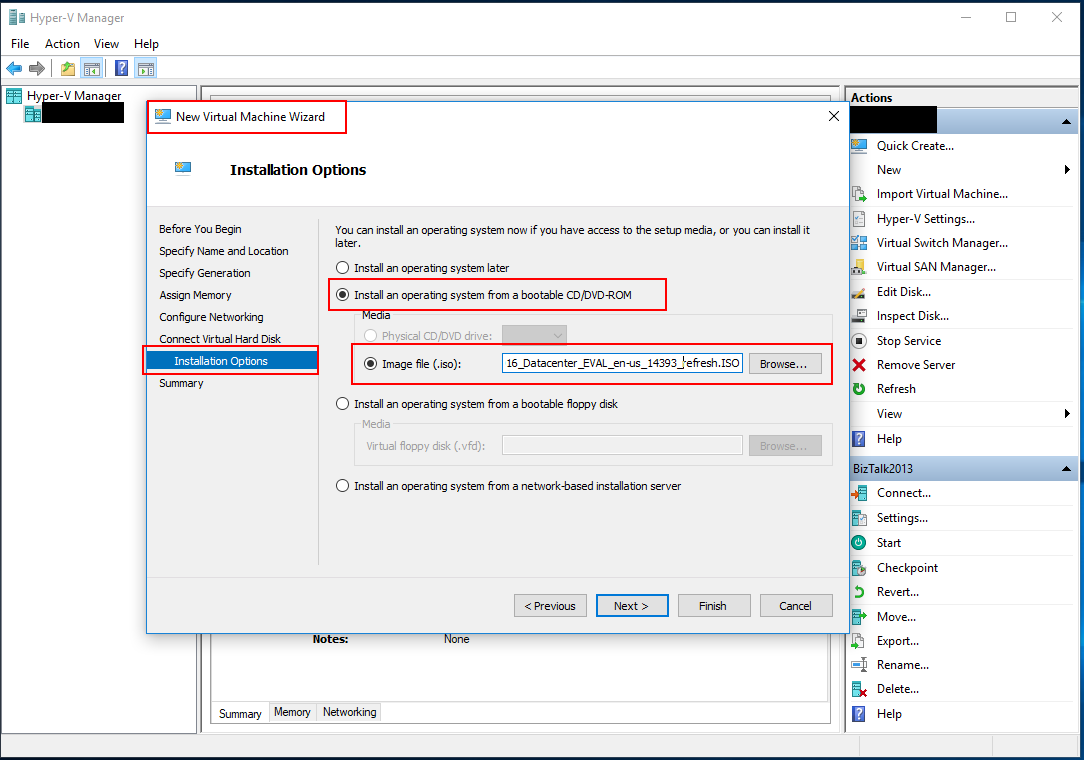
More in detail how to install a Virtual Machine can be found here: https://www.raspberryfield.life/2019/03/03/a-brief-look-at-virtualization-and-virtual-machines-windows-10-pro/#hyperv-downloados [2019-03-08]
Back to Index.
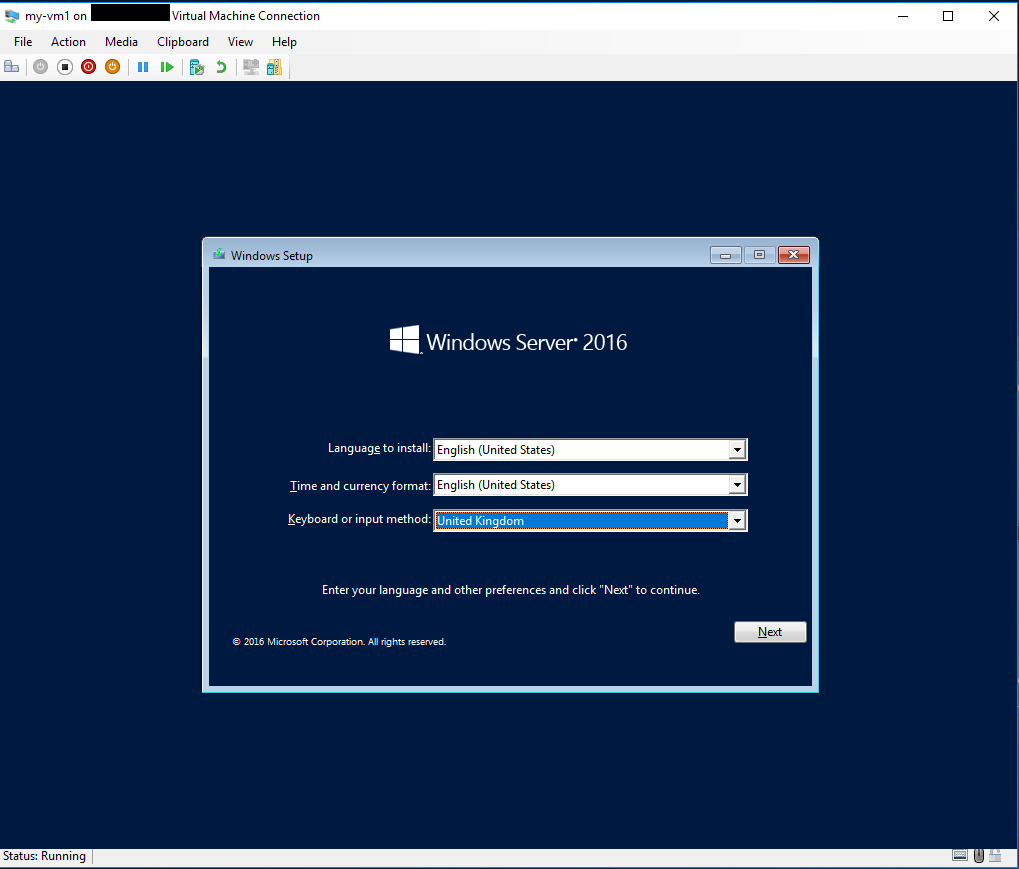
Install Windows Server 2016 OS
Once you have created the VM and chosen to connect to it, the installation will begin.
First, chose your language preferences:
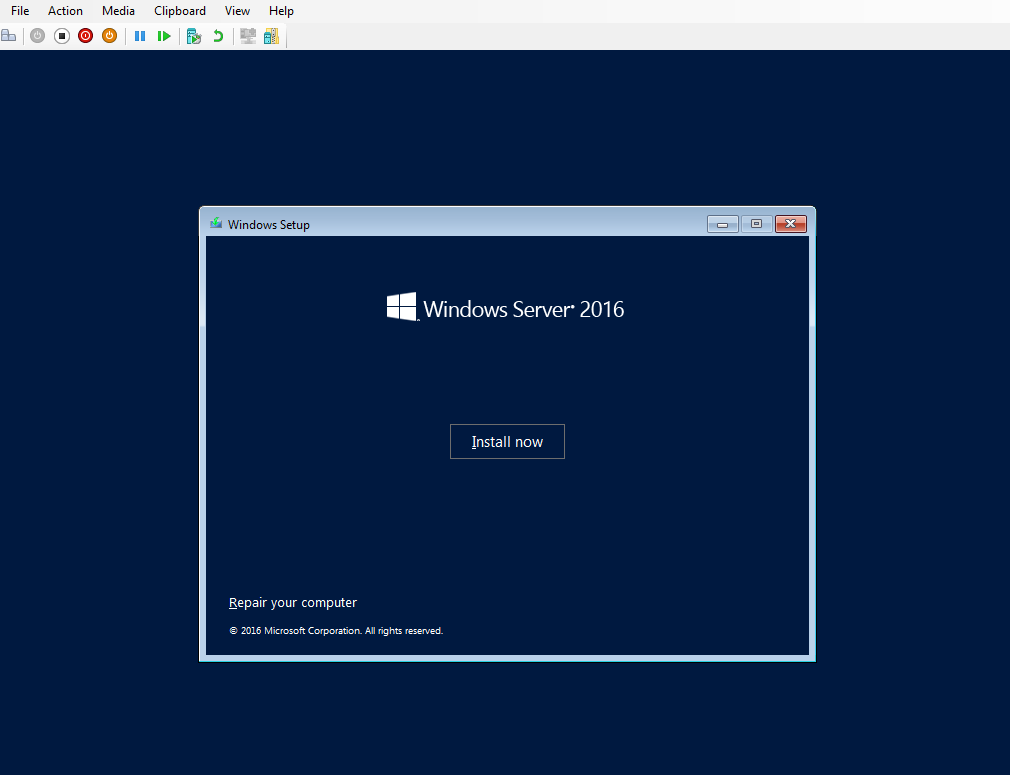
Click Install now:
In the next step, it is very important that you choose the second alternative: Standard Evaluation (Desktop Experience). If you choose the default option, you will install the server with no GUI. That means that you must write scripts for everything you want to install and configure on the server. We will stick to the graphical representation with a GUI.
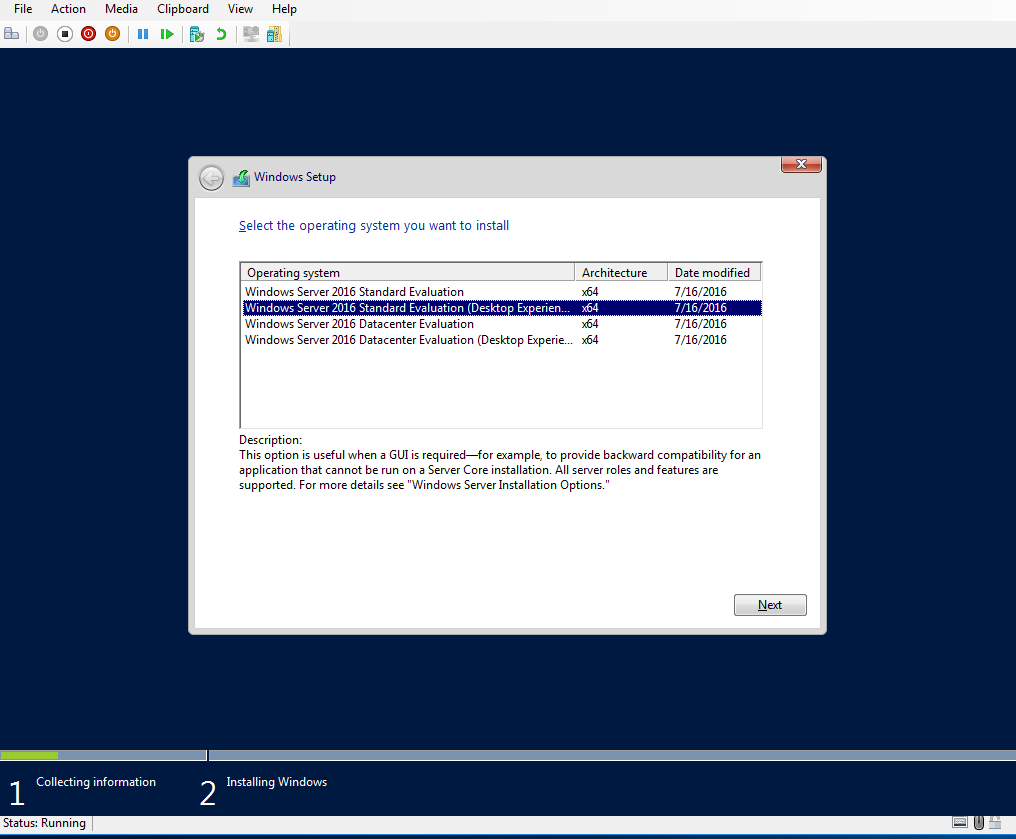
Info. The Datacenter installation of Windows Server 2016 has more features than the Standard regarding storage and virtualization (and it cost much more). For our needs, Standard more than enough.
Next, accept the license agreement.
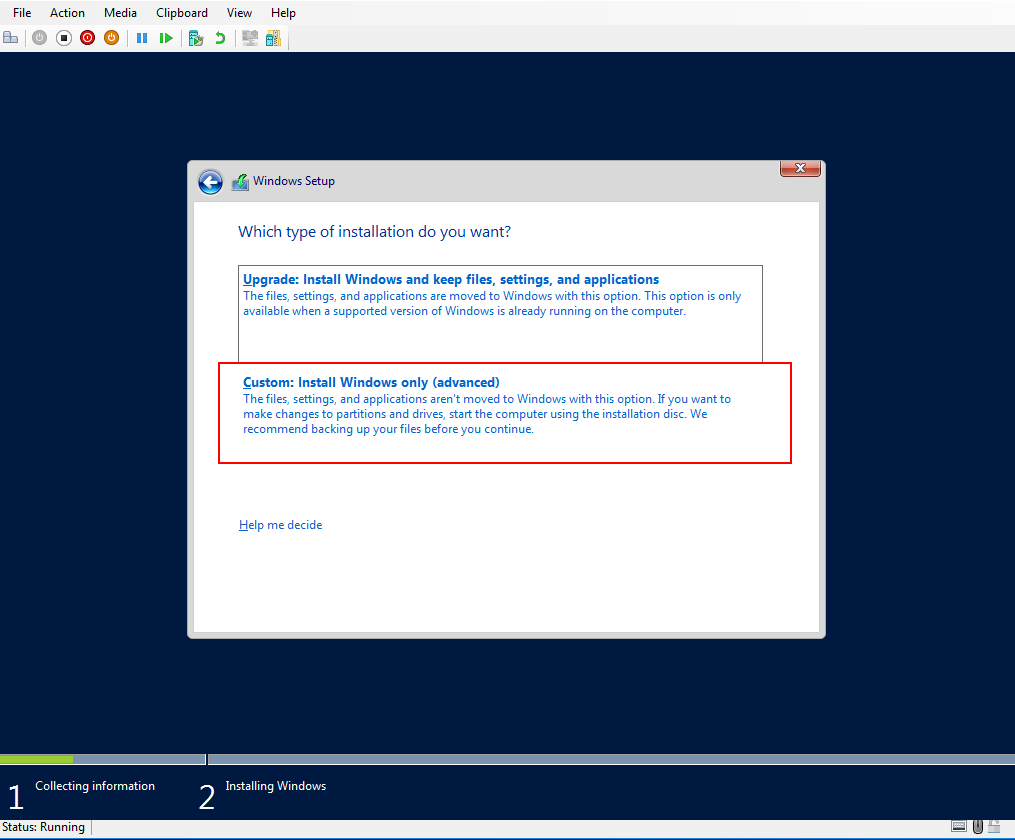
Then, chose custom install (I personally prefer custom install)
Now, chose the default drive and click next:
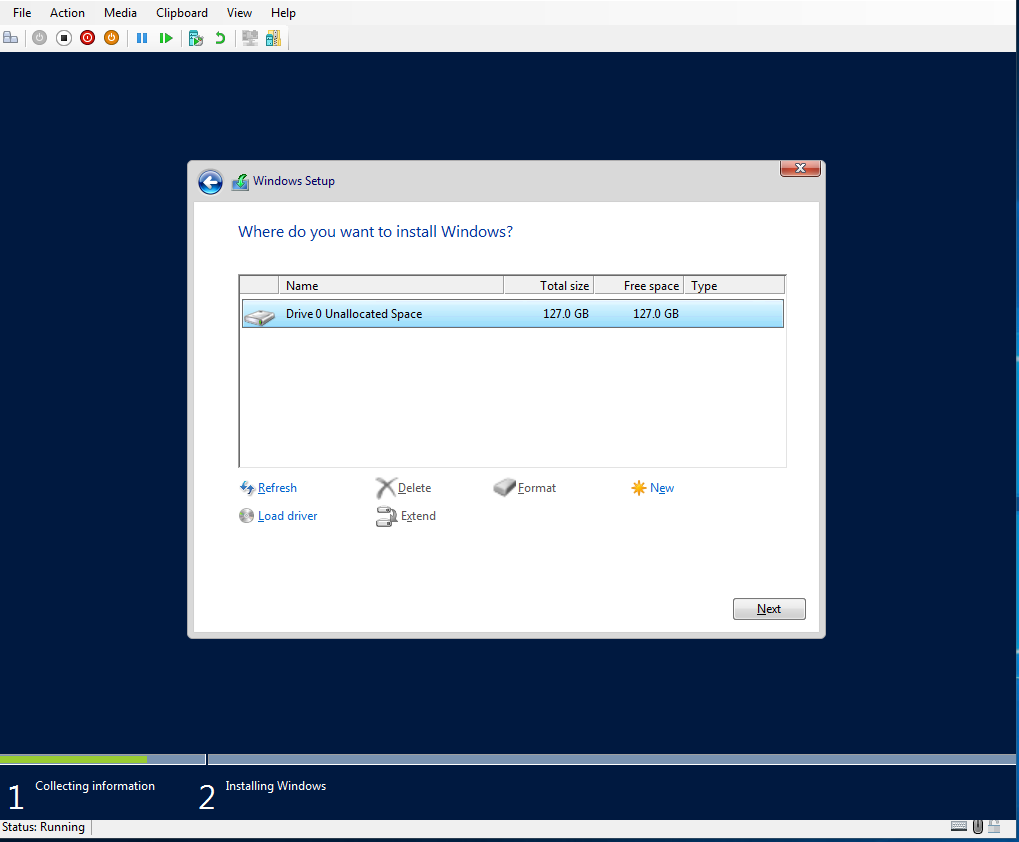
The installation will now automatically start.
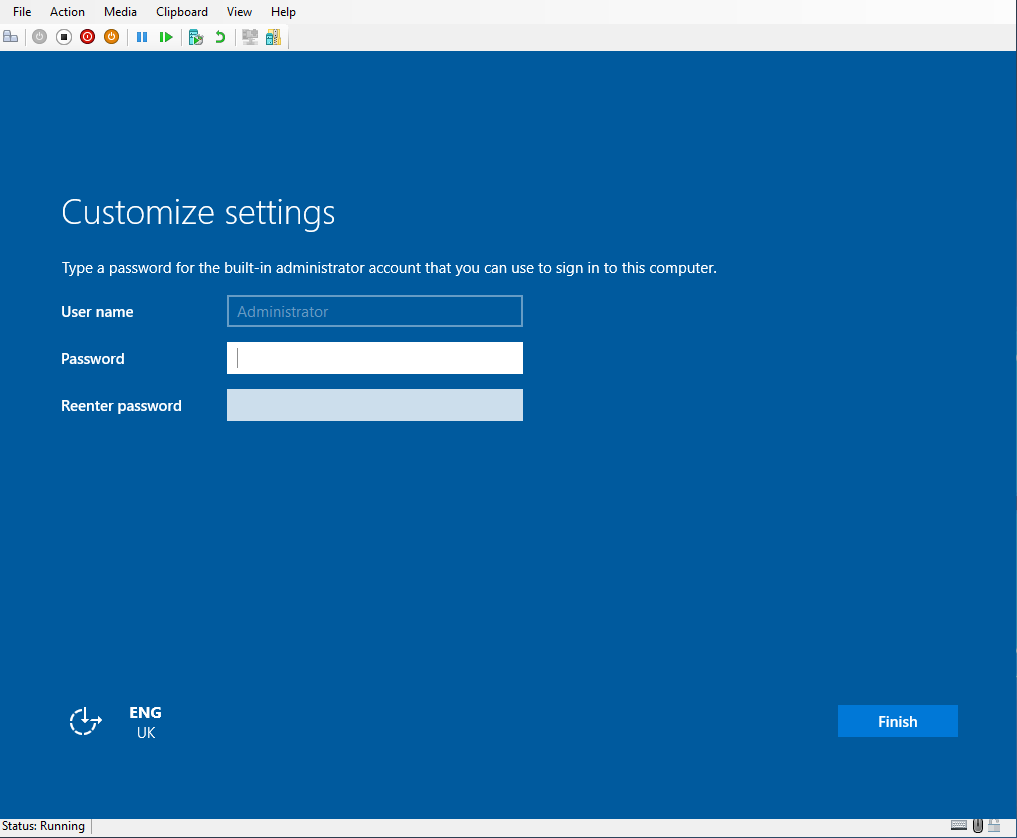
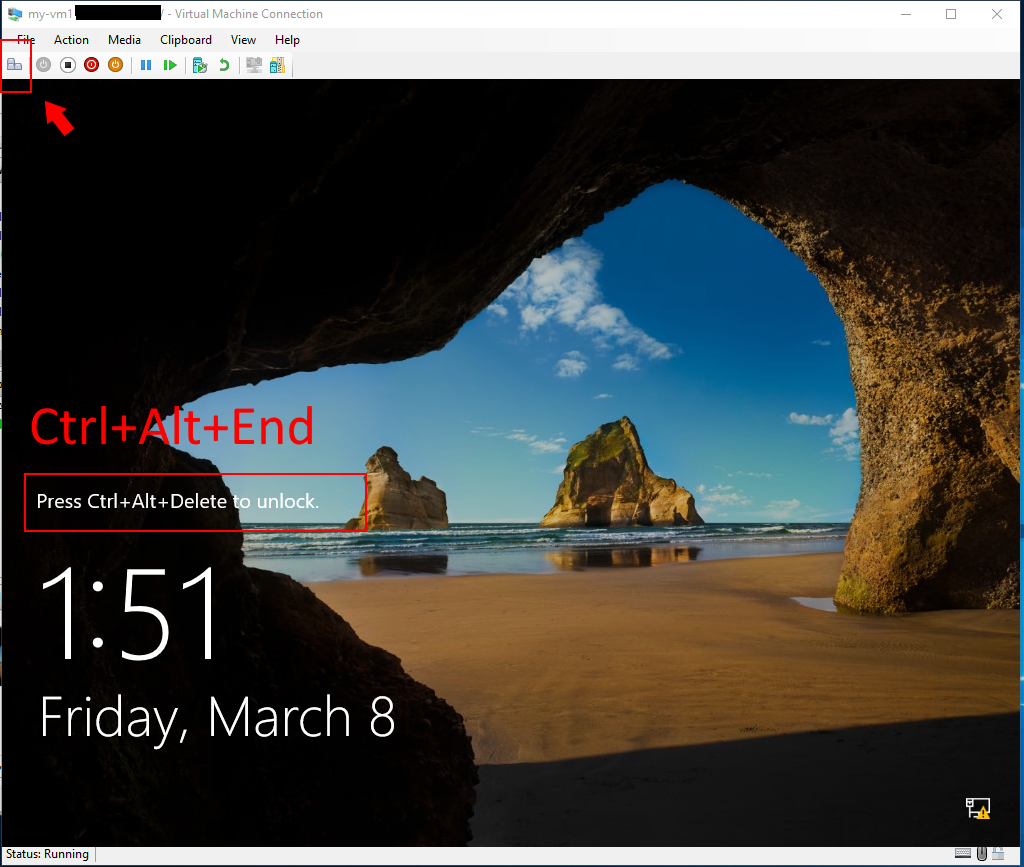
When the installation is ready you are asked to choose a password for you Administrator account:
To unlock either push upper left button or Ctrl+Alt+End:
From now on when you connect to the VM, I highly recommend that you use the desktop app Remote connection. But before you do that, you have to enable / allow on the server that you can connect remotely. You can do that from server manager (program that always pop up when you log in on the server.):
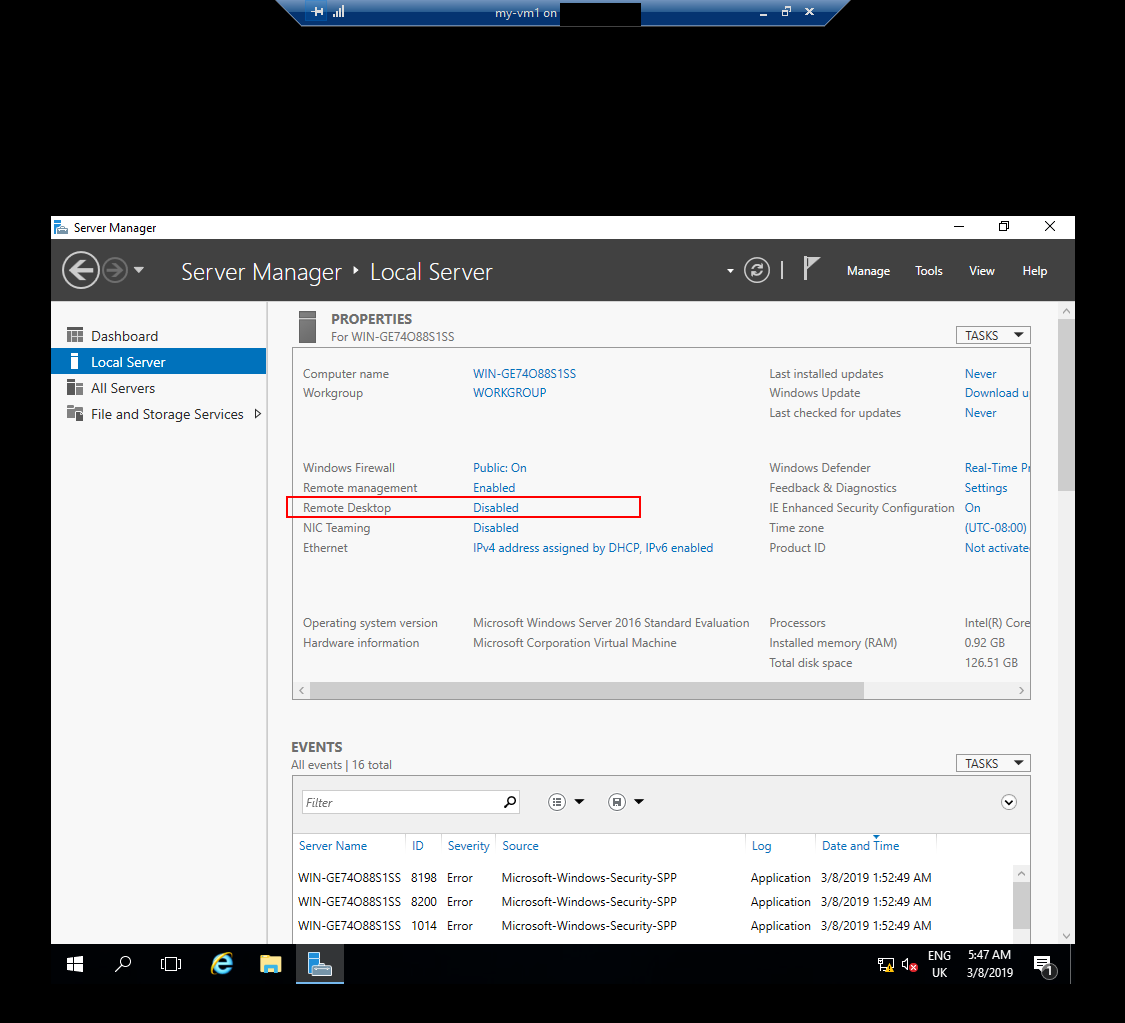
You can find more details here how to do it if you are uncertain:
Back to Index.
Summary
This post explained with pictures how to in a simple way install Windows Server 2016 on a VM in Hyper-V.
Back to Index.