Install BizTalk 2016 Servers on a Windows Failover Cluster
Finally! Now when we have the failover cluster, AD Groups and checked the prerequisites, we can finally launch the BizTalk Server installation.
Index
- Install BizTalk Server (node1)
- Verify installation (node1)
- Configure BizTalk Server (node1)
- Install BizTalk Adapter Pack (node1)
- Install BizTalk Server node 2 (configuration)
- Summary
Install BizTalk Server (node1)
Download the BizTalk Server Evaluation ISO from Microsoft:

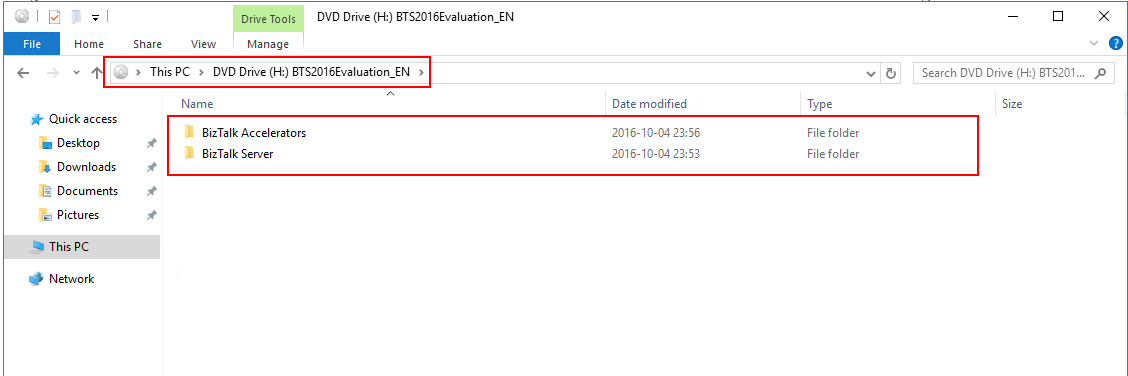
Right click and chose to Mount the ISO-file. Will bring up the following folders:
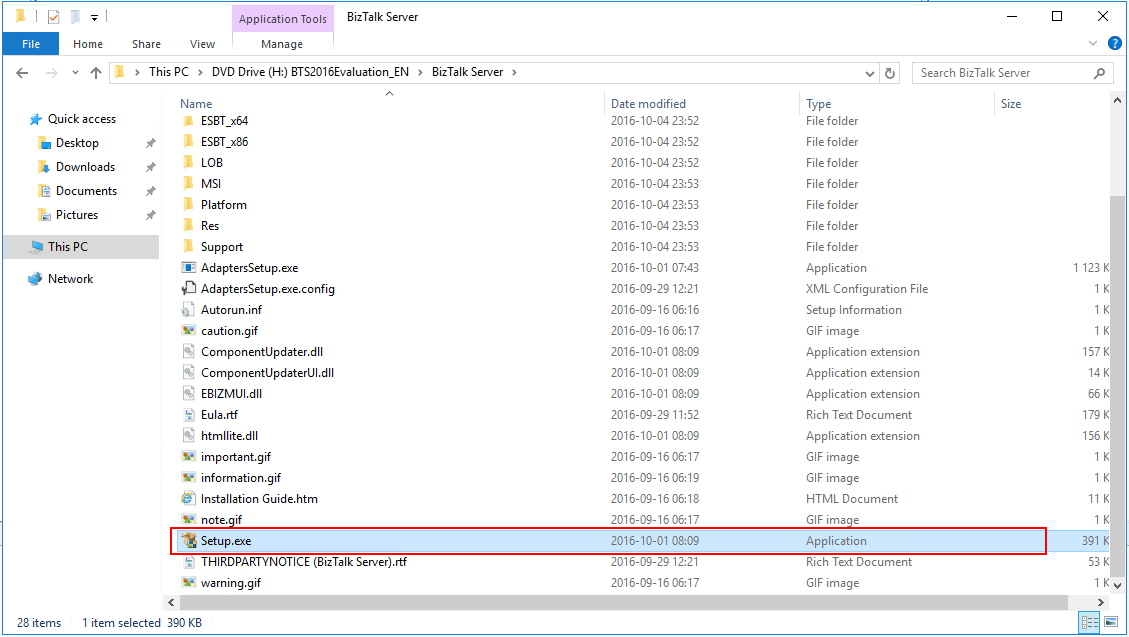
Open the BizTalk Server folder. Look for the Setup.exe file:
Note! Remember that you must run this installation under a service account you are using for BizTalk. This account must be local admin and have full privileges on the SQL Server.
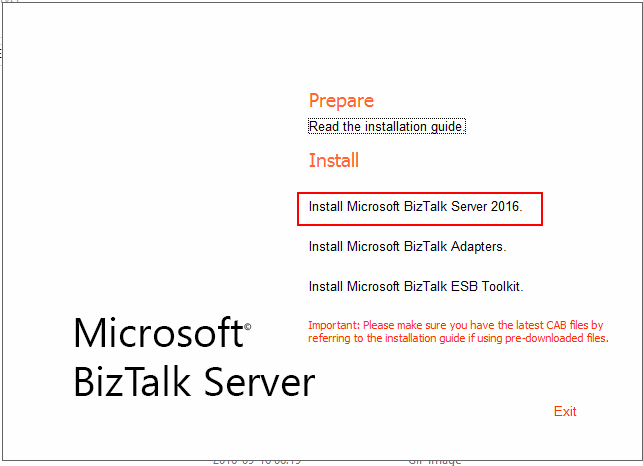
Run Setup.exe as Administrator and BizTalk Installation wizard will start:
Chose Install Microsoft BizTalk Server 2016.
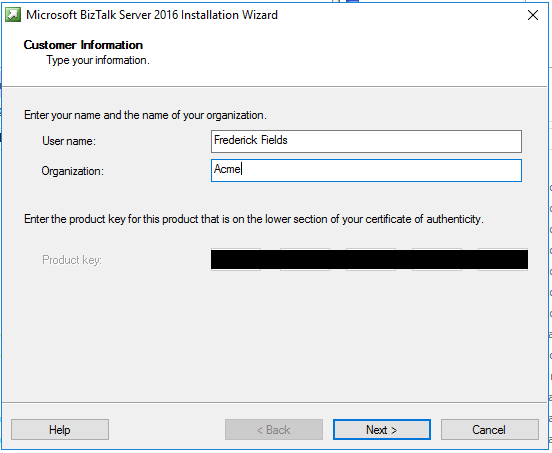
Fill in your company’s information and your license key (I run an Evaluation version so that key is already included):
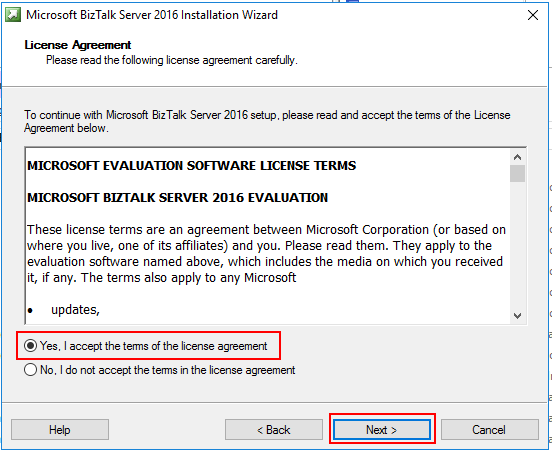
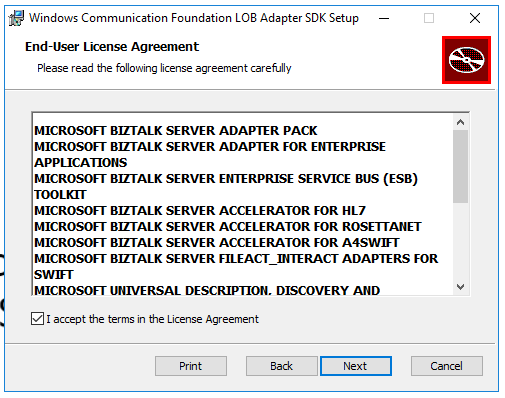
Accept the license terms:
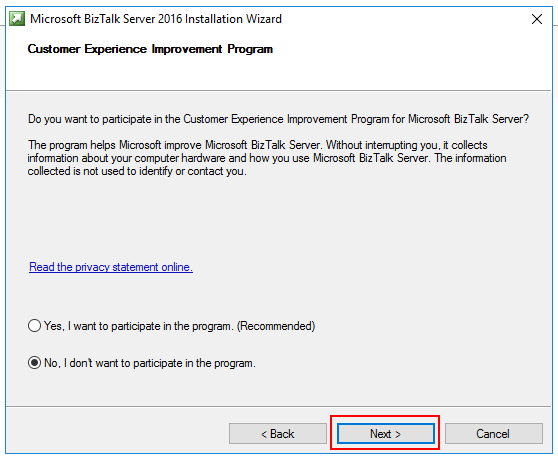
Now, chose if you want to participate in the Customer Experience Program or not:
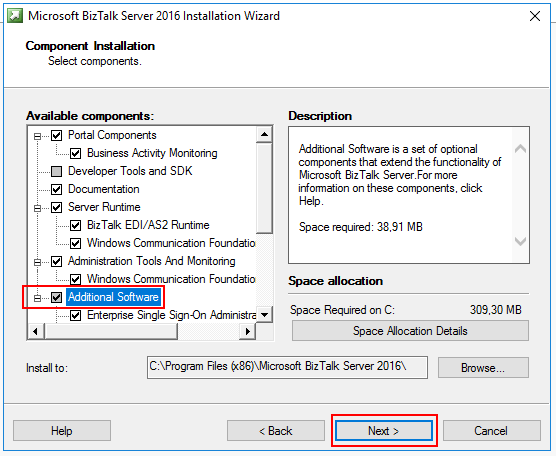
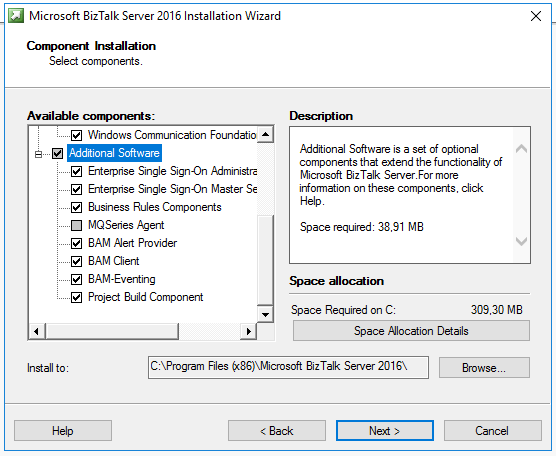
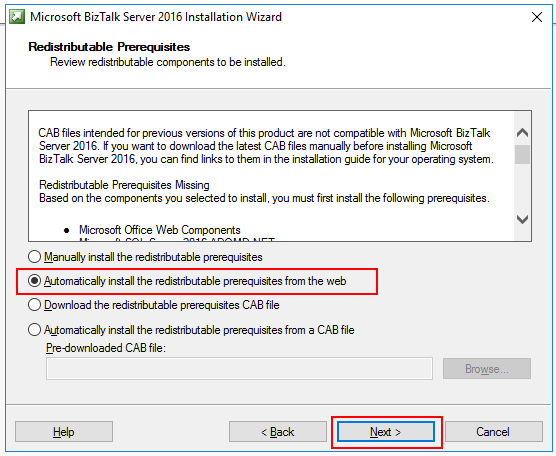
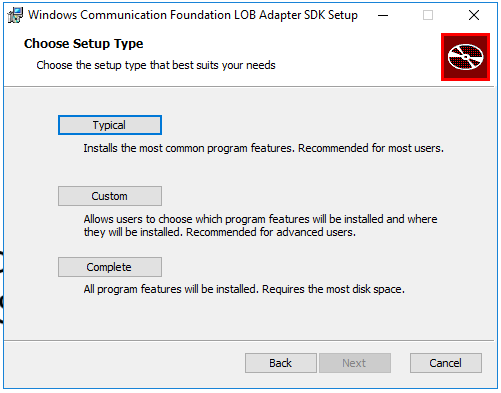
Chose the components you want for your installation:
Regarding the CAB files, they are important to install BizTalk Server. I always chose to download them automatically to be safe. But for that, the server needs internet access:
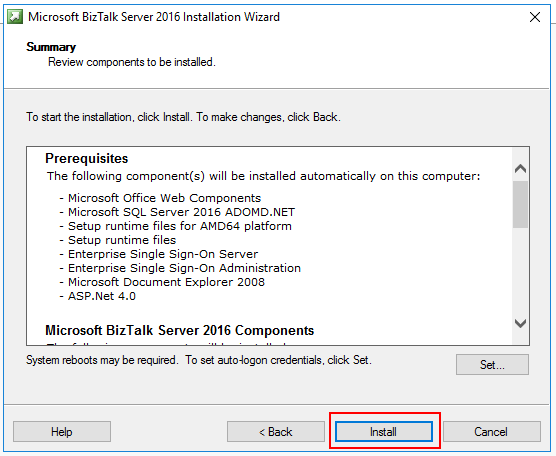
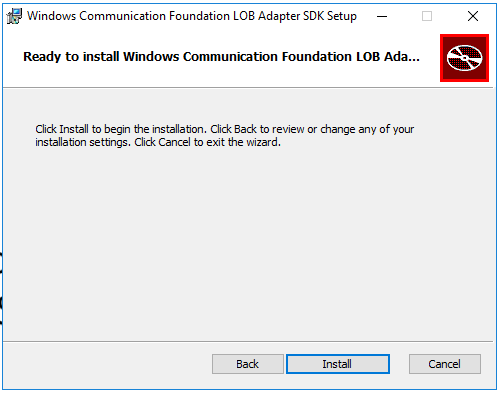
Verify and install:
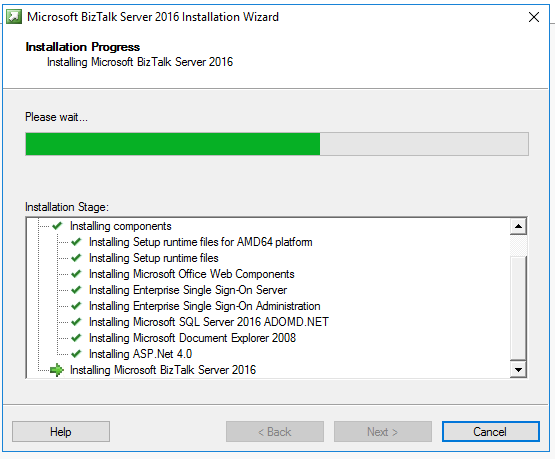
Installation in progress:
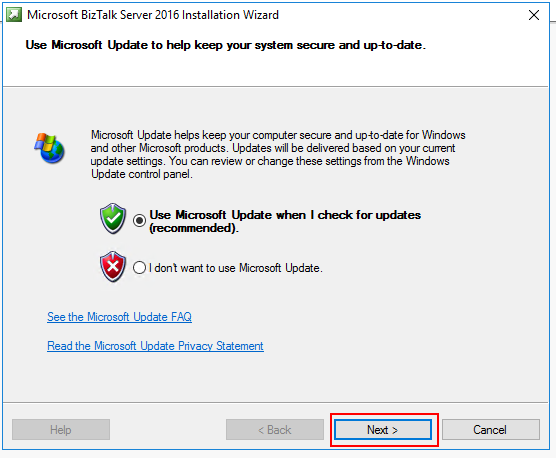
Chose if you want to use Microsoft Update:
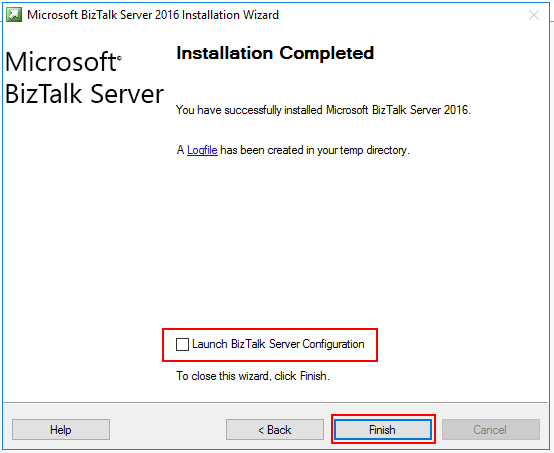
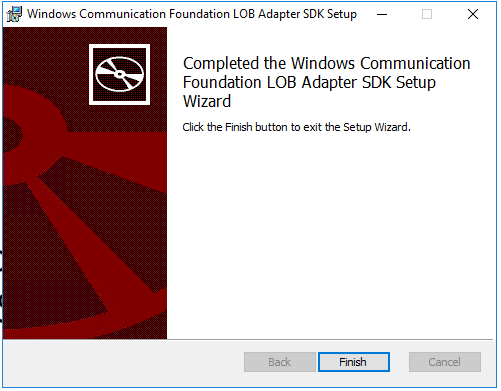
Personally, I don’t want to launch the BizTalk Server Configuration directly after installation. I want to check some things before. But now the installation is complete. Click Finish:
Back to Index.
Verify installation (node1)
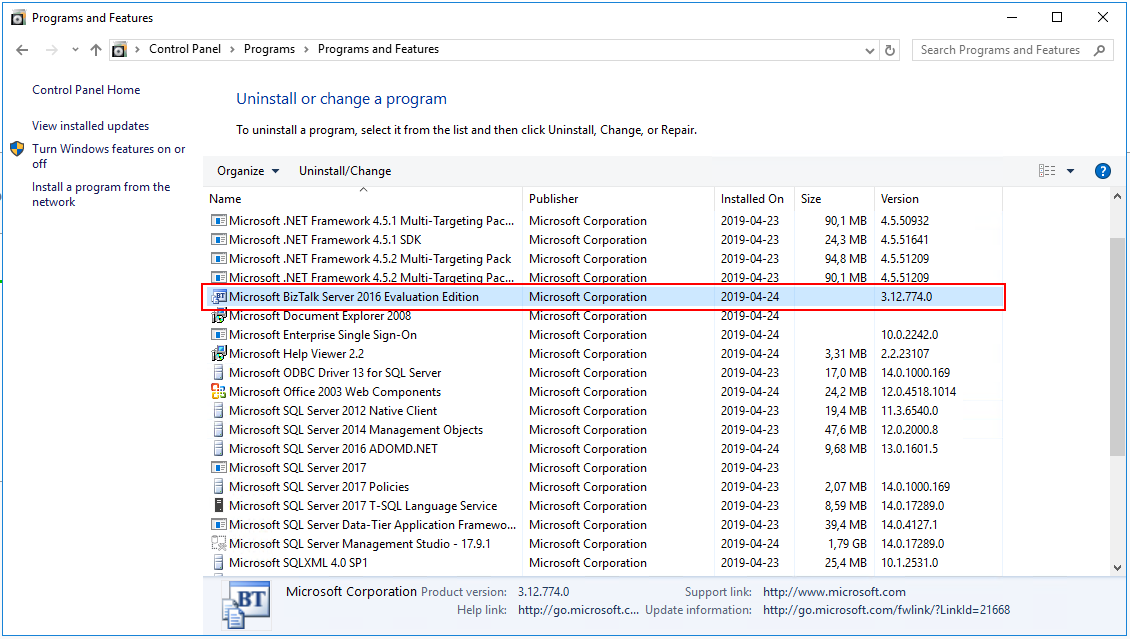
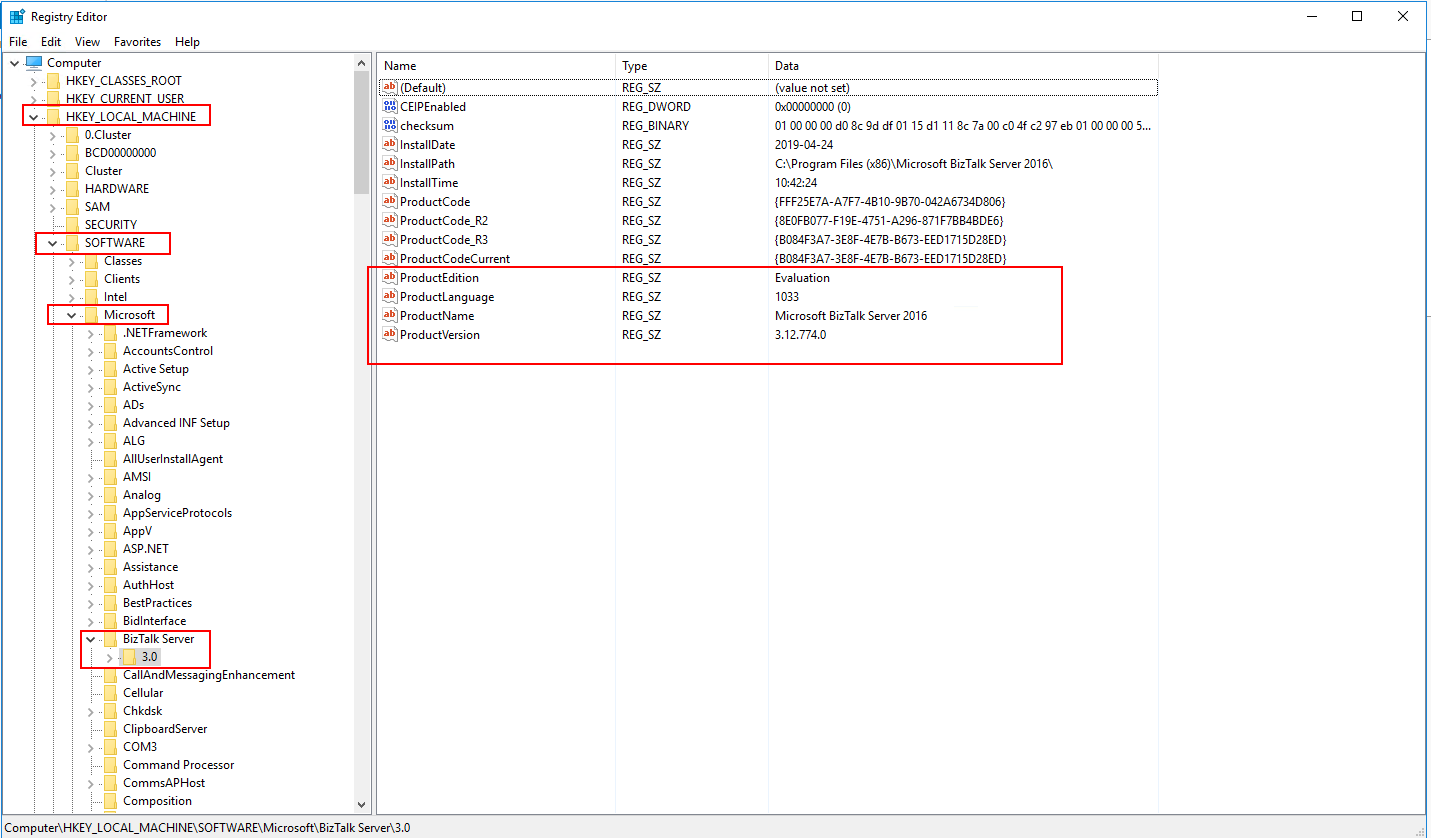
You can verify your installation and version of BizTalk Server by browsing programs and the registry.
Control Panel-> Programs-> Programs and Features:
Check the registry under HKEY_LOCAL_MACHINE\SOFTWARE\Microsoft\BizTalk Server\3.0:
Back to Index.
Configure BizTalk Server (node1)
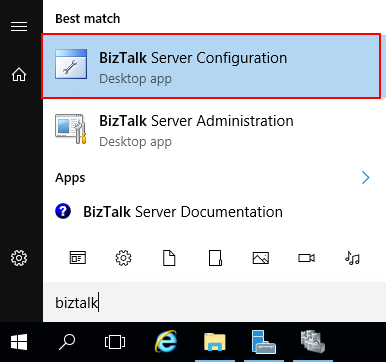
From Start, type: BizTalk.
Start the BizTalk Server Configuration:
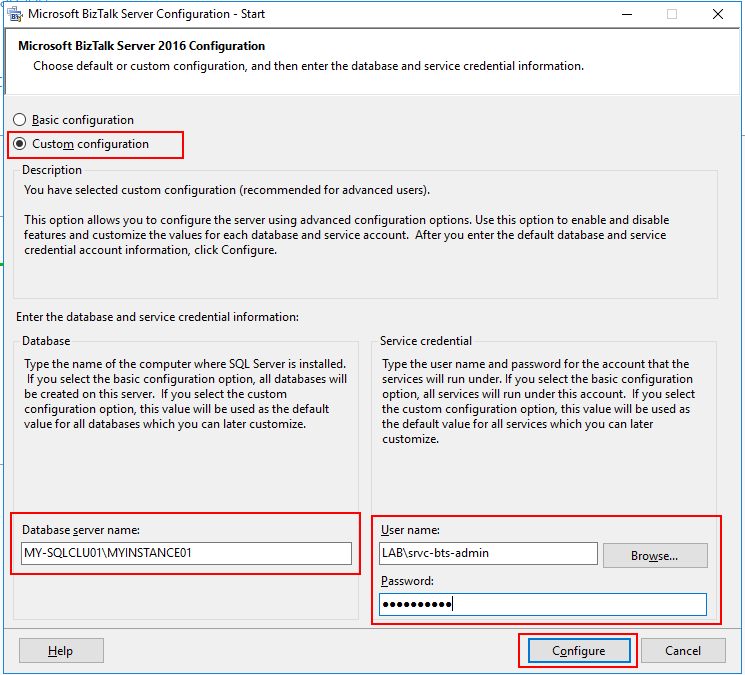
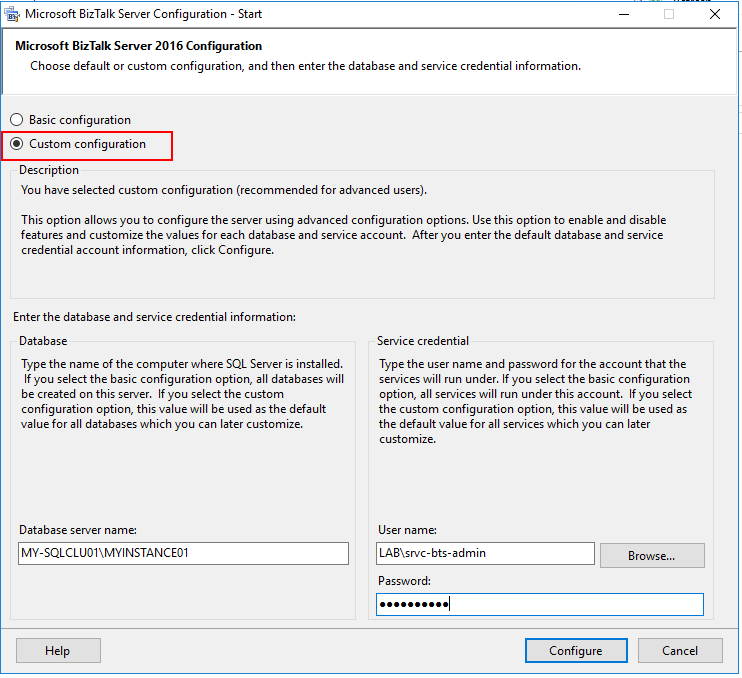
The Configuration will start. Important here is that you:
- Chose Custom configuration (Basic Configuration only works for the simplest setups, rarely used).
- Point out the right database server name and instance.
- Use the right service account.
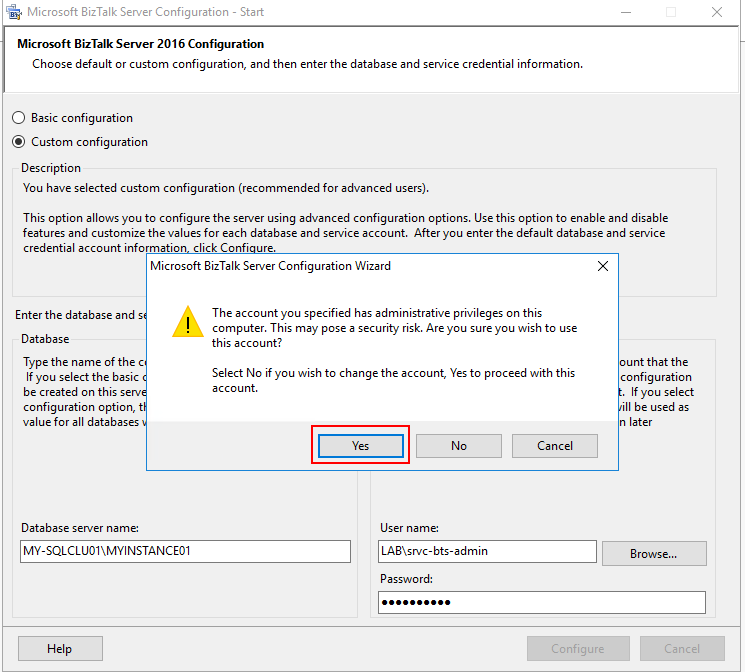
You may receive a warning that your account is local admin, well it should be(?), so click Yes to continue.
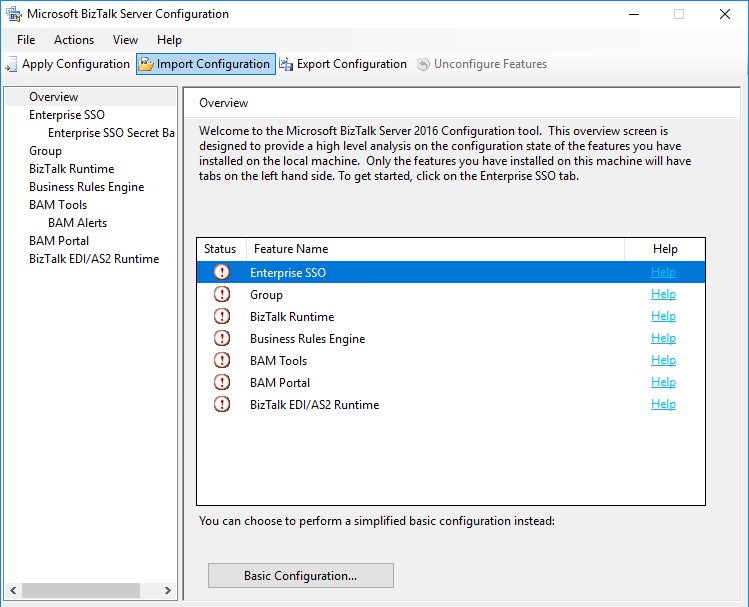
Now, an overview page of the possible configurations will show. From the start, nothing is configured:
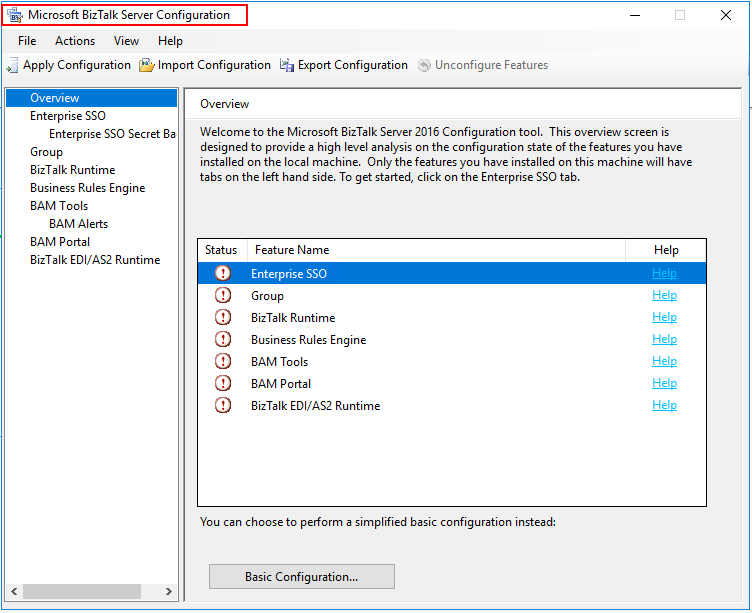
We will start from the top and work with one configuration at a time.
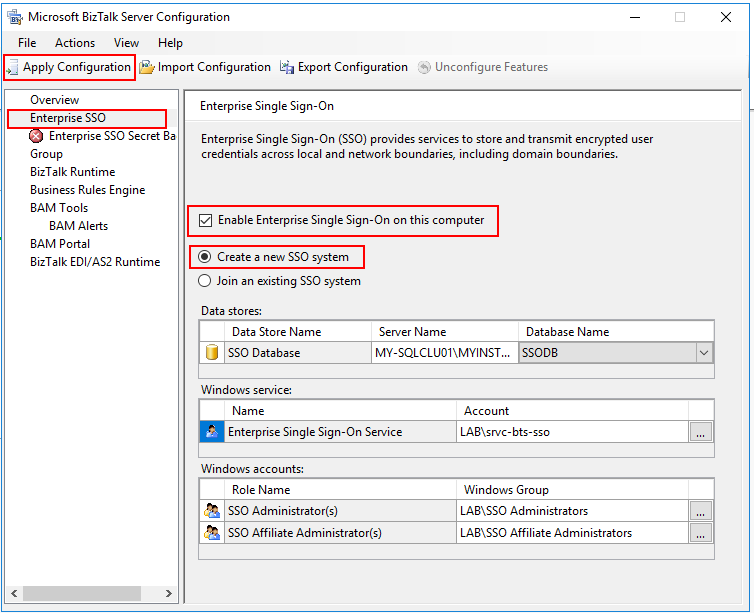
Enterprise SSO:
Starting with the Enterprise SSO:
Info. Tip, after each step (Tab) of configuration, you can hit Apply Configuration, check that it works and move on to the next tab.
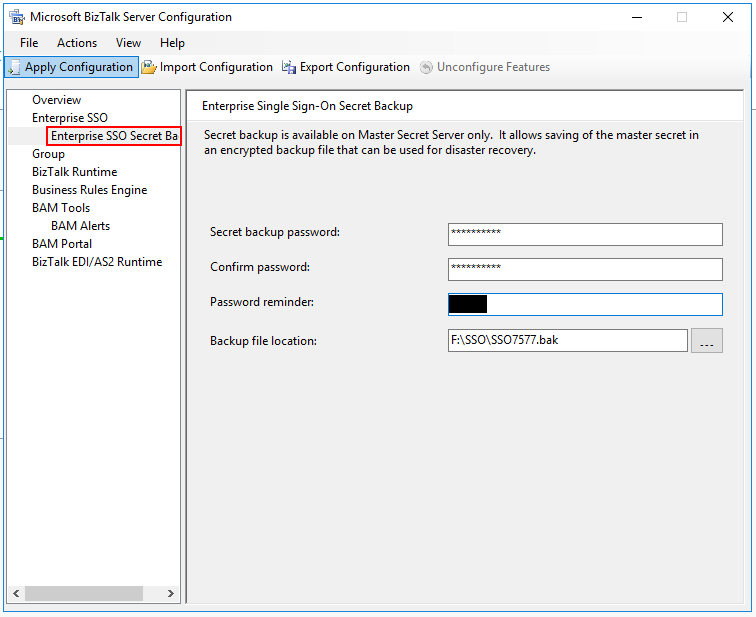
Enterprise SSO Secret Backup:
Enterprise SSO Secret backup is a key that you need for system recovery. Something goes badly wrong you need this. Don’t lose this one!
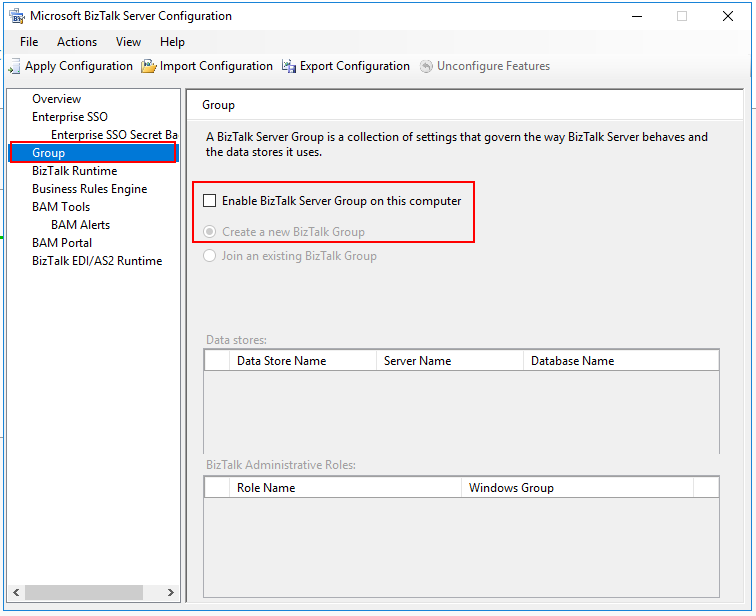
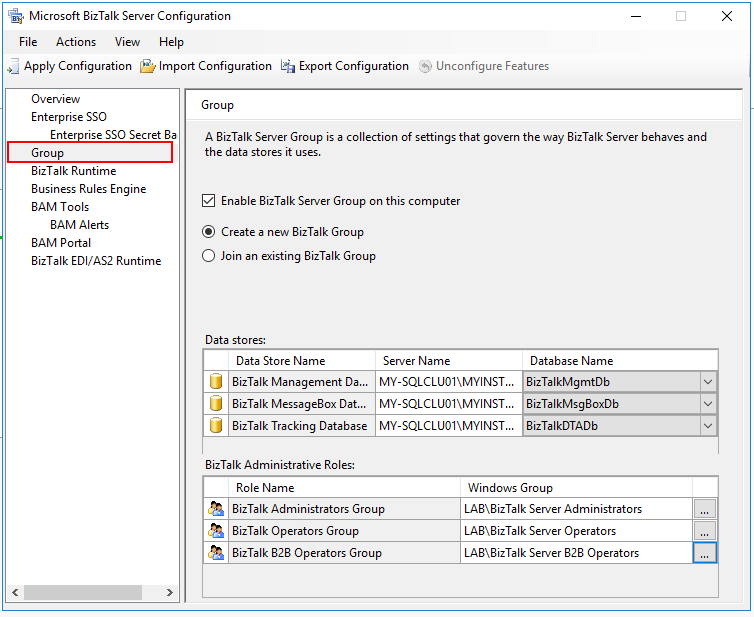
GROUP:
Enable and create a new BizTalk Group:
Everything configured under GROUP:
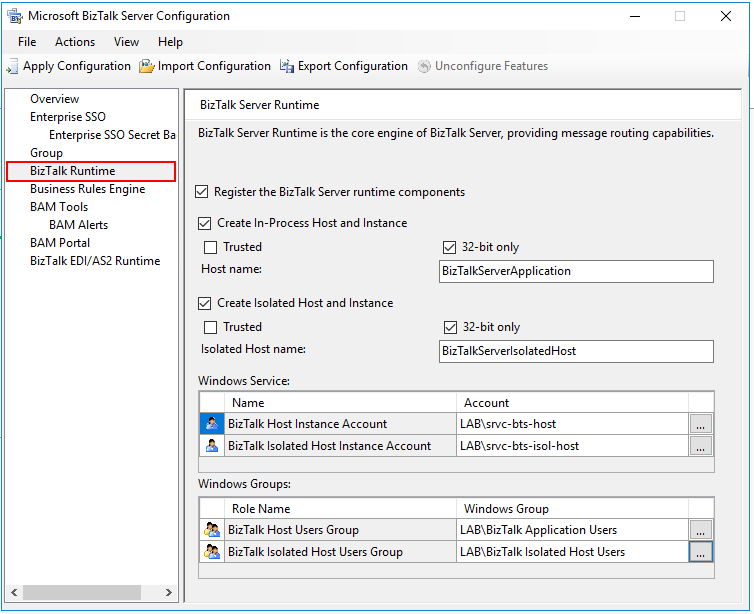
BIZTALK RUNTIME:
These are the default settings for the standard host instances. After the configuration you can create your own in BizTalk Administrator Console.
Business Rule Engine:
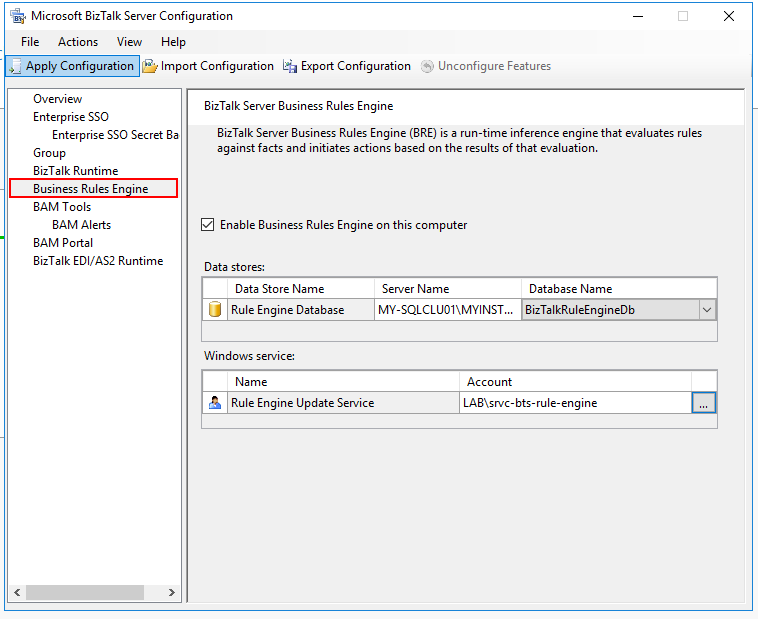
Straight forward.
BAM Tools:
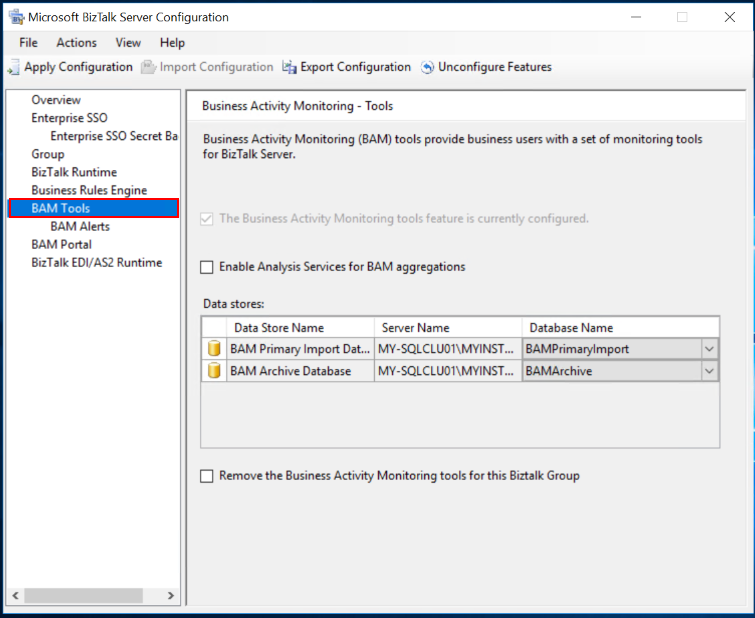
Note. BAM Alerts won’t be covered in this tutorial. That includes configuration of a mail server.
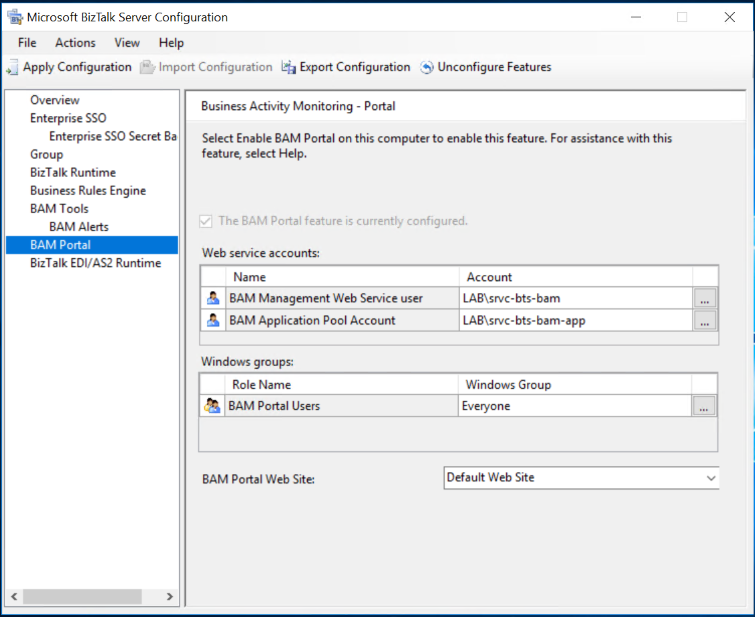
BAM Portal:
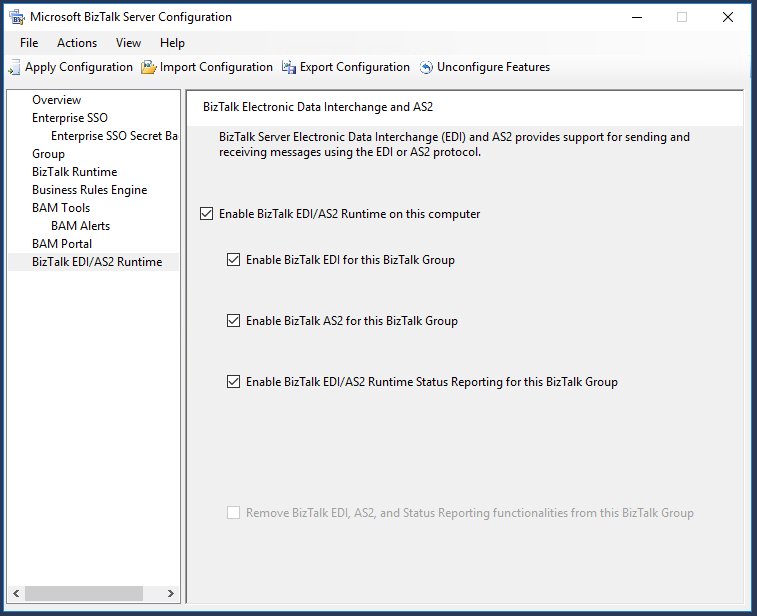
BizTalk EDI/AS2 Runtime:
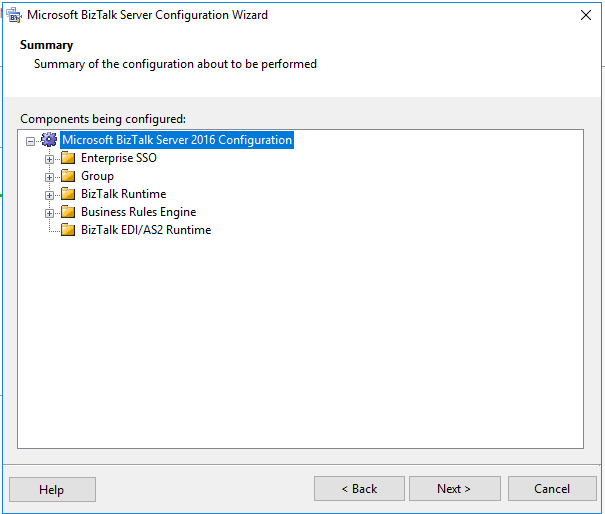
APPLY CONFIGURATION:
You can choose to Apply Configurations after each step. When you chose to apply configurations, you will configurations that are about to be applied:
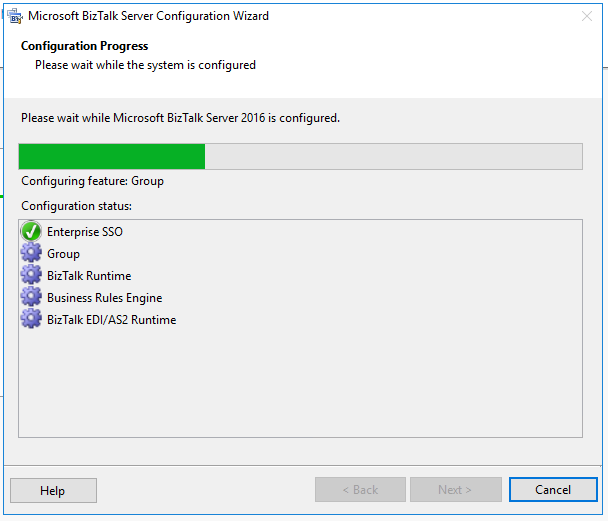
Click Next and configuration progress will start:
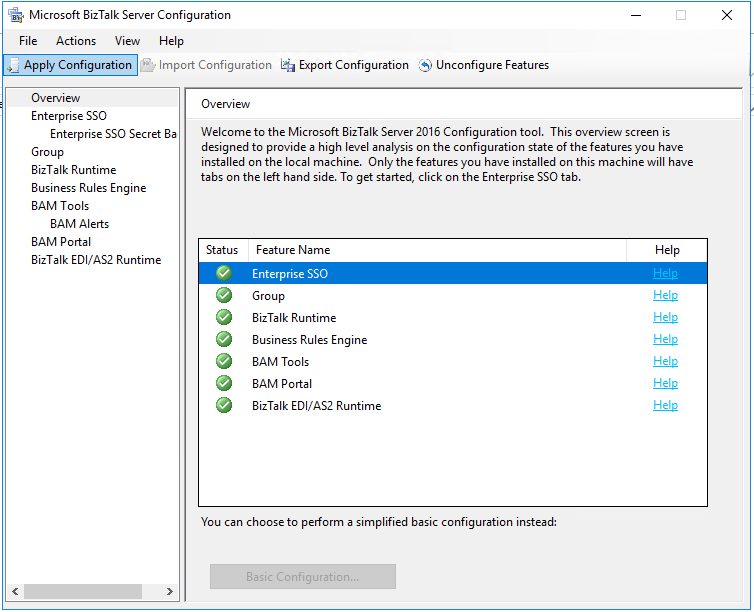
Overview:
After the configurations are applied, you can go back to the overview pane.
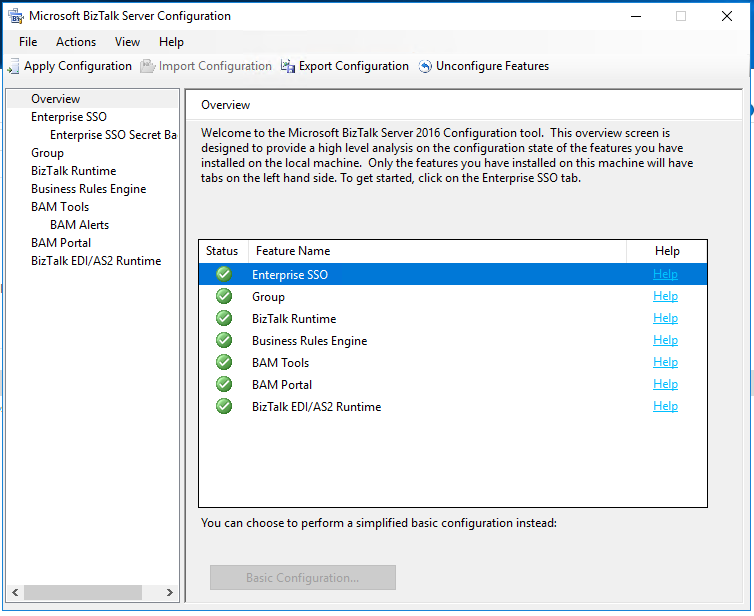
When you see this, you have successfully configured BizTalk Server 2016.
Back to Index.
Install BizTalk Adapter Pack (node1)
Run the Setup.exe file again from BizTalk Server 2016 installation media, in our case the ISO file.
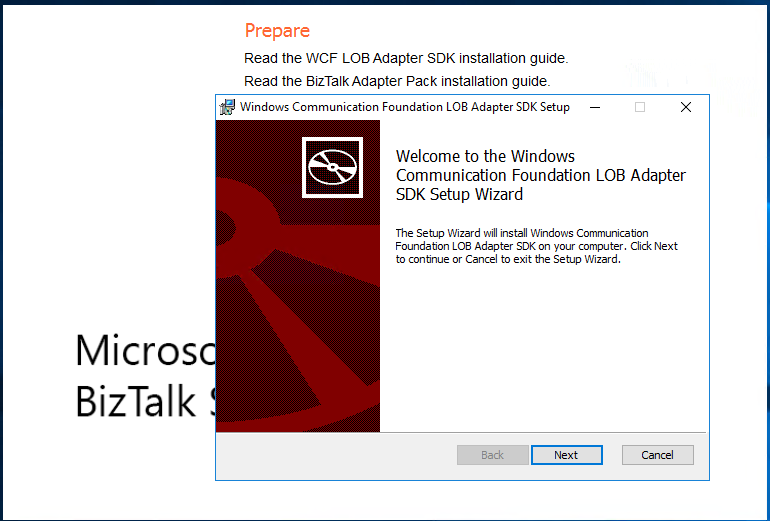
This time chose Install Microsoft BizTalk Adapter:
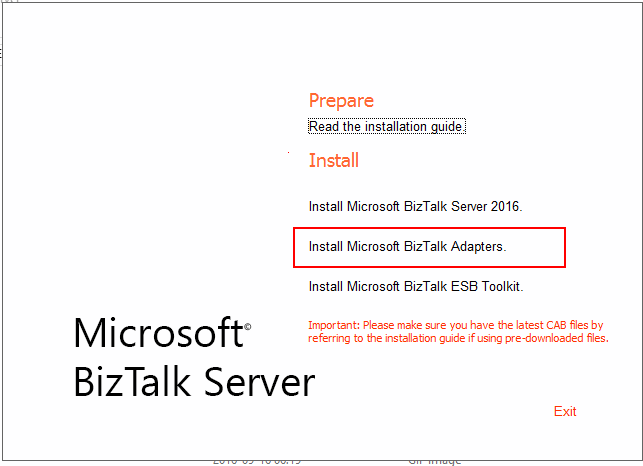
Clicking Install Microsoft BizTalk Adapters will bring up a new list. Start from the top.
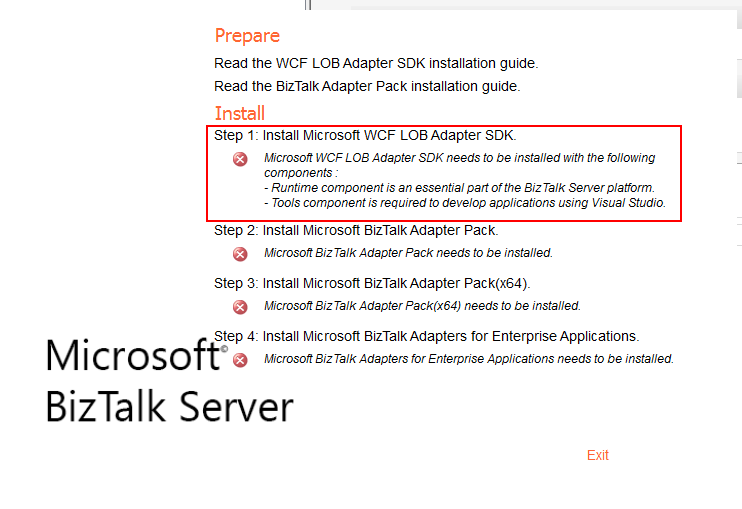
All of the installations are pretty straight forward and looks the same. I won’t go into details for each of them, if you want to see screenshots, there are here: https://www.raspberryfield.life/2019/03/24/install-biztalk-server-2016-on-a-single-machine/#BP023-bts-btsadapters [2019-05-25].
When you have installed all the adapters, you will see the overview like this:
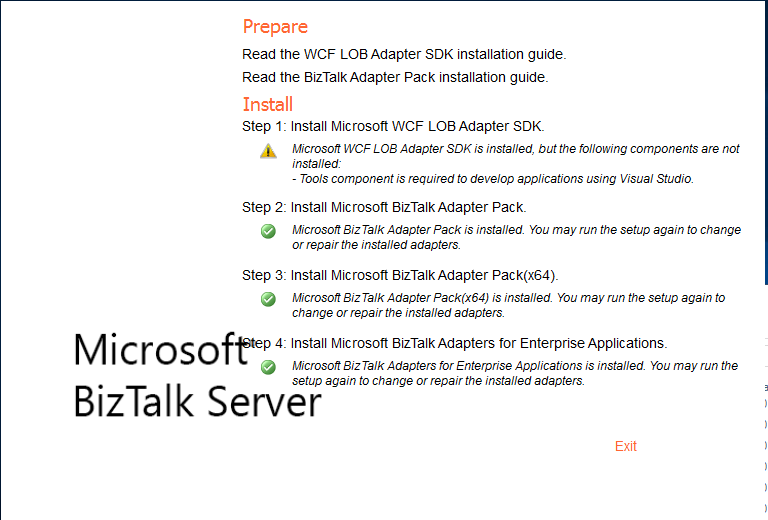
If you don’t have Visual Studio installed on the server, you will get the warning: “Microsoft WCF LOB Adapter SDK is installed, but the following components are not installed: – Tools component is required to develop applications using Visual Studio”.
This is only needed for development. On a BizTalk Production Server, there is no need for development or Visual Studio.
Info. The adapters can now be added from the BizTalk Administration Console.
Back to Index.
Install BizTalk Server node 2 (configuration)
Note! You must manually install:
- BizTalk Server
- BizTalk Adapters
The configuration on node 2. Start by choosing custom configuration:
Overview of the configurations (nothing configured yet):
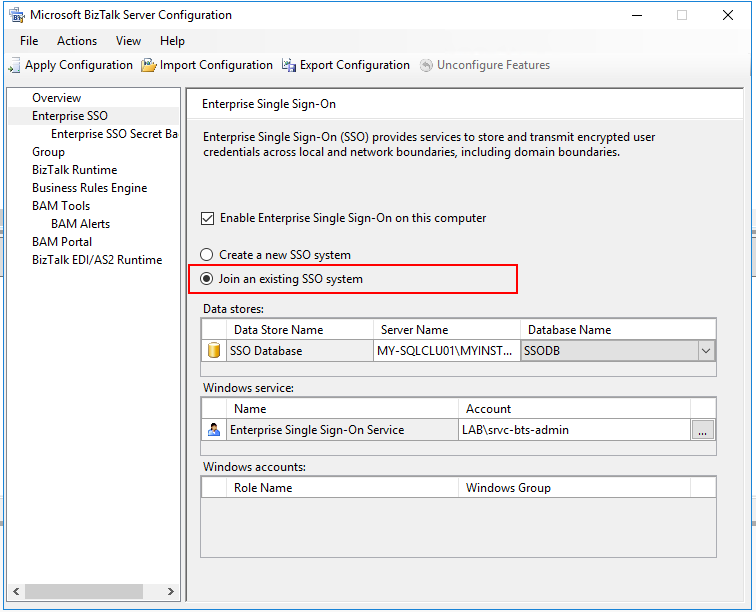
Go through each step, and when possible always chose “Join an existing…”.
Enterprise SSO:
Group:
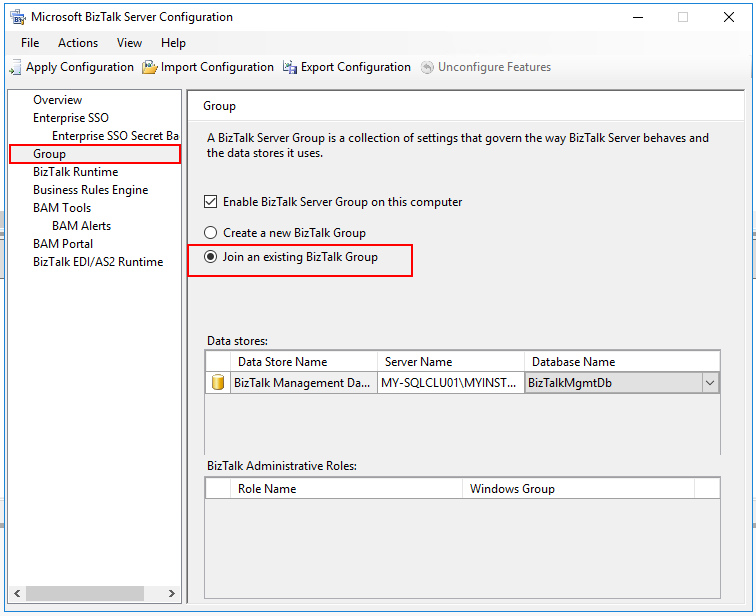
BizTalk Runtime:
When joining a group, BizTalk Runtime is already configured:

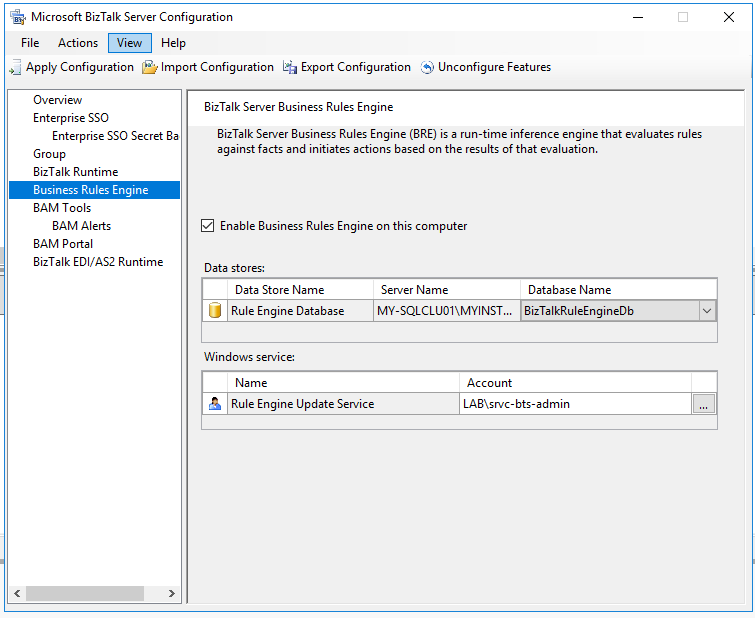
Business Rules Engine:
When all configurations are applied:
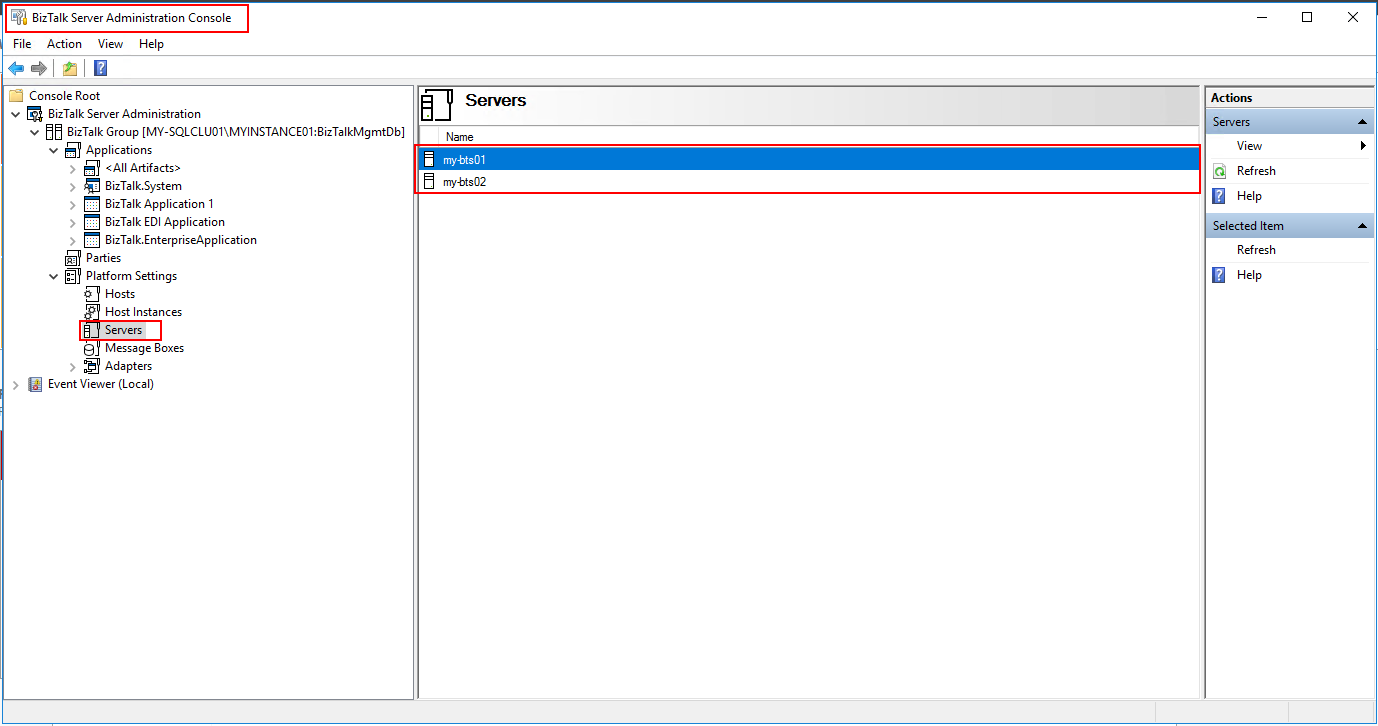
Now you have successfully installed two servers in a BizTalk Group!
Back to Index.
Summary
If you have followed earlier post, you now have two BizTalk 2016 Server in a BizTalk Group installed on a Windows Failover Cluster. That means that we have a good groundwork for achieving HA (High Availability) with our servers. Servers in a BizTalk Group will work together with all the messages, if one goes down, the other will take over. And some adapters need special configure Host Instances in BizTalk and can only be running on one server at a time. If we cluster these instances in Windows Failover Cluster, the cluster will move these instances automatically to the other server if one encounter problems. Next post in my BizTalk series will be about these instances. This is a good basis!
Here is a screenshot where you can see the servers in a BizTalk Server Group:
Back to Index.