Recently I
have been working with BizTalk Server for the first time.
When I
encounter something new that I want to learn in a short period, I’d like to
learn by doing. That approach naturally leads to that I will mess things up and
break things. Great way of learning – but not a great approach in an
environment shared by other colleagues.
BizTalk is
a complex system. It is not that kind of software that you download an
.exe-file, executes and just click next-next-finish. And it is a server
installation. I decided to write a blogpost about how to set up BizTalk locally
on your PC, so you can start blowing things up without causing problems with
your colleagues.
BizTalk is
an integration platform from Microsoft. The idea is to provide a comprehensive
platform full of adapters to common system and technologies. BizTalk contains
all the building blocks you need to create a modern integration platform for
your enterprise. (Although, it is getting more and more commonly to build
integrations in Microsoft’s cloud service – Azure). BizTalk has been around for many
years, it is more of a classic ‘on premise’ software that you install in your
datacenter.
BizTalk
Server 2016 is a server installation software. That means that you need a
Windows Server OS to make it run properly. To fix that you need to virtualize a
machine with that OS.
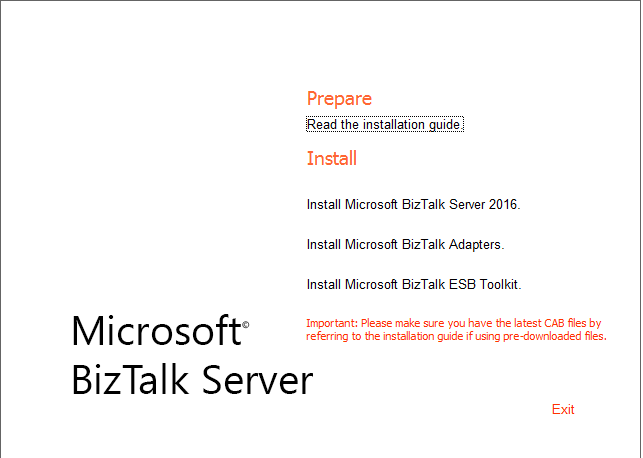
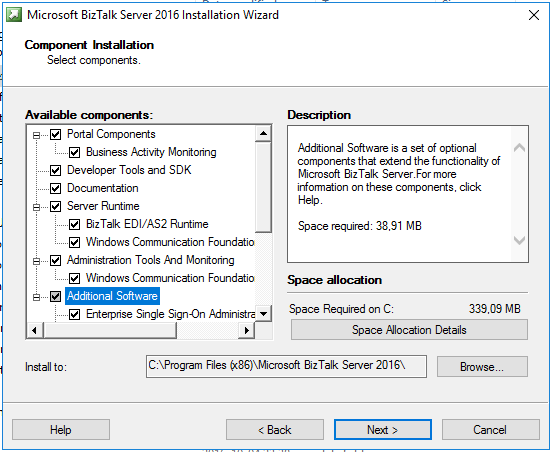
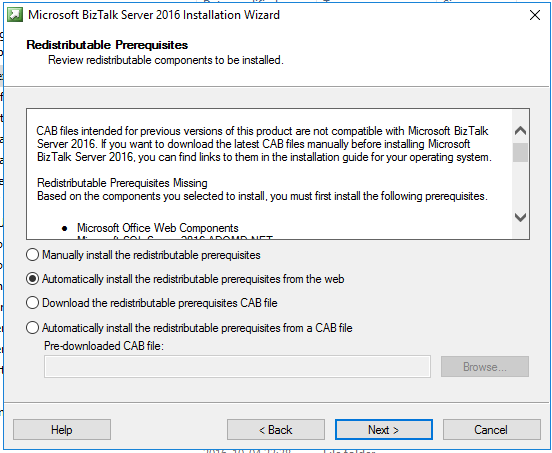
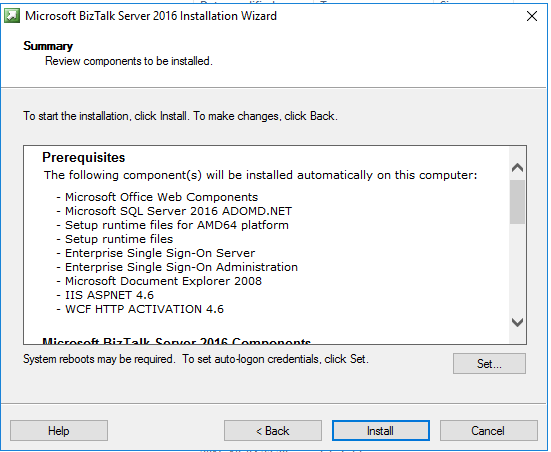
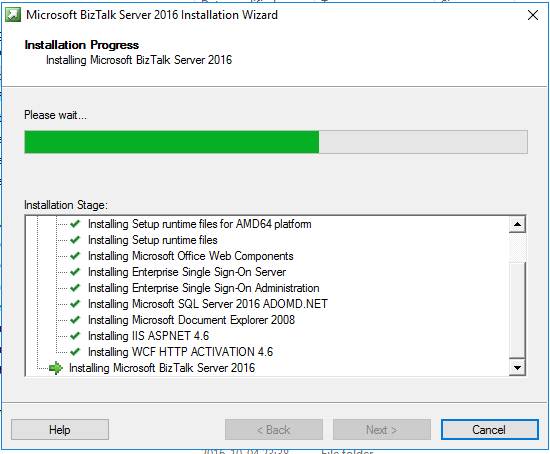
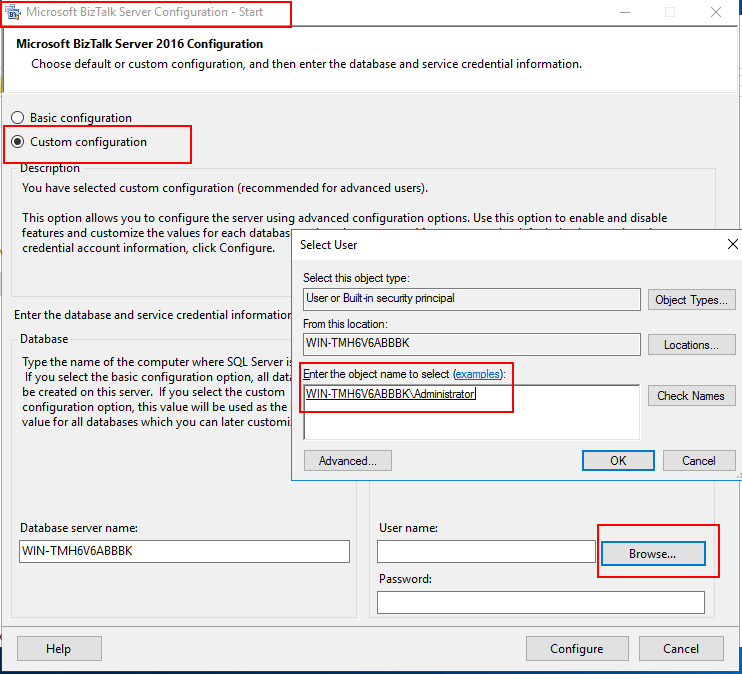
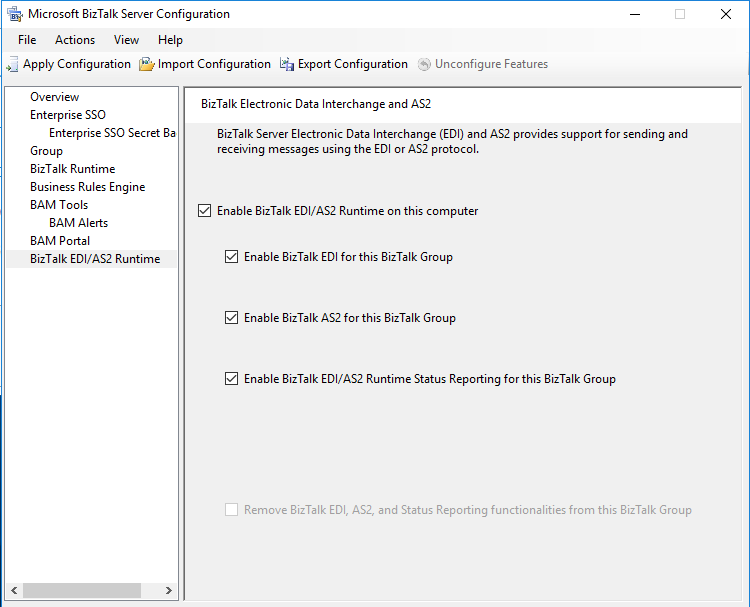
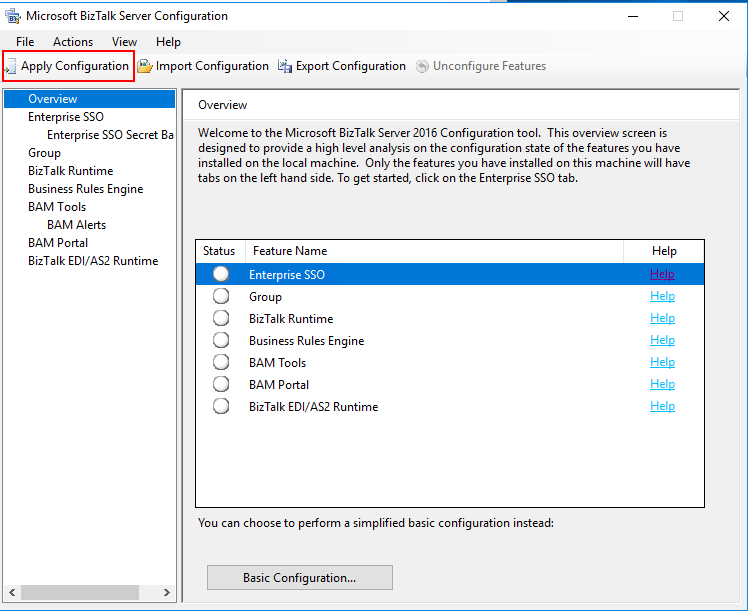
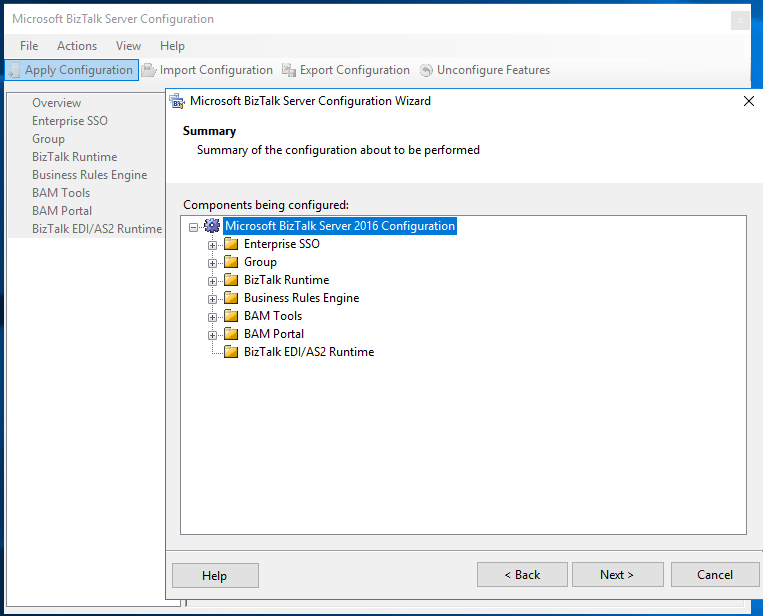
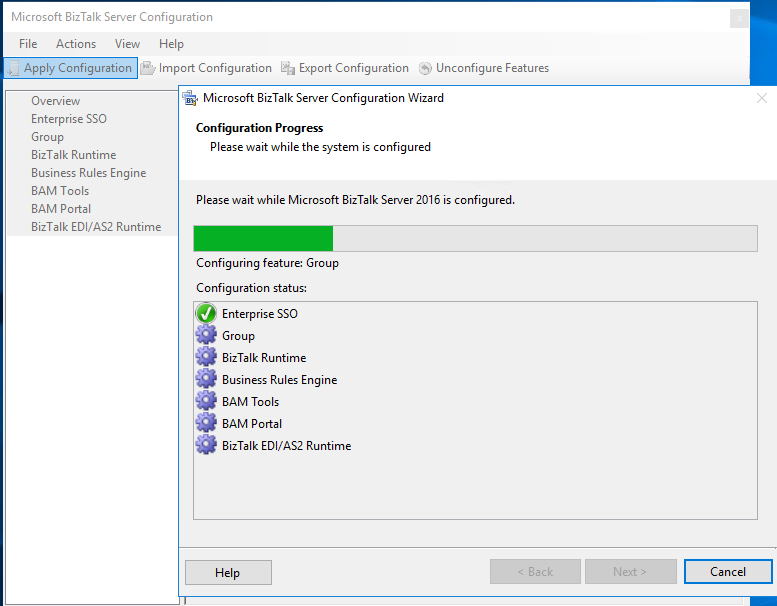
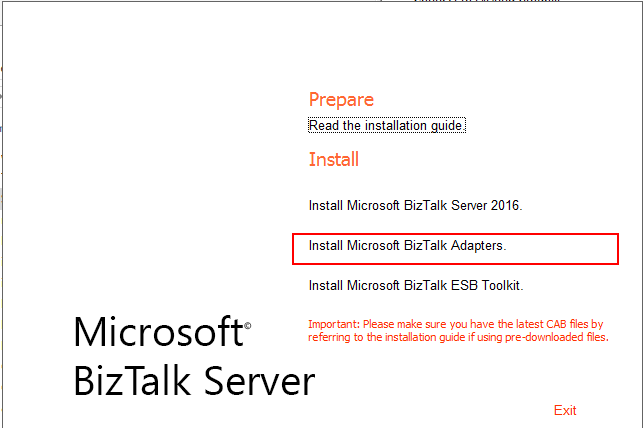
This is a summary of the requirements to develop in and setup BizTalk Server 2016. How to install these requirements are described in their own sections. Table present suggested order of installation.
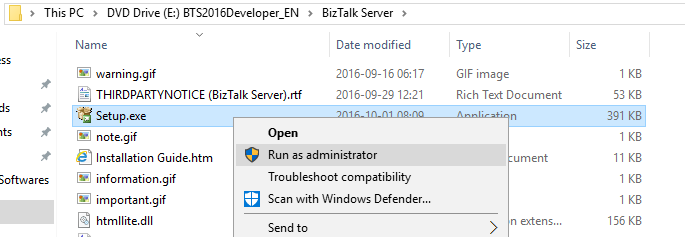
Execute the file as Administrator. A download wizard will start:
Choose Custom:
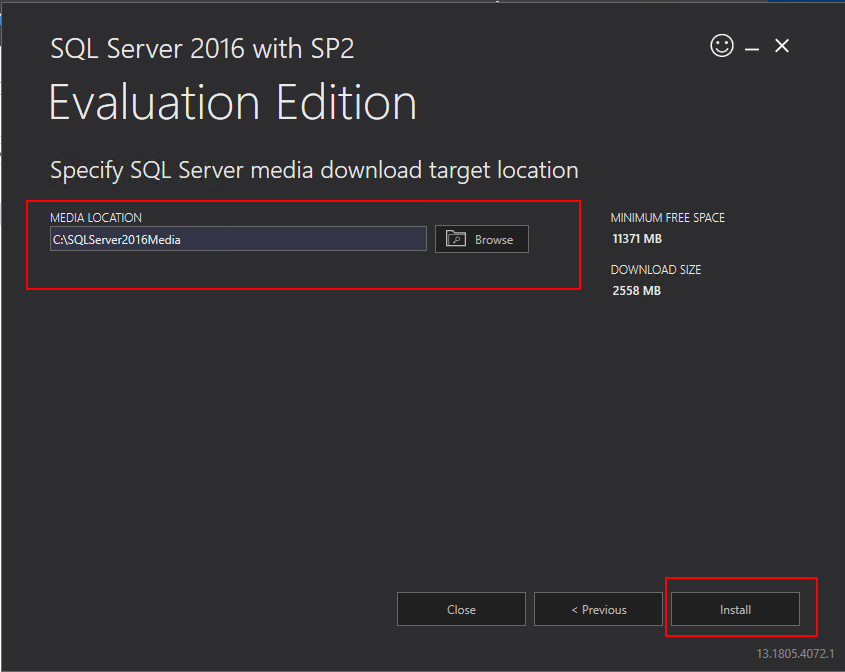
Choose download location (yes, it says install but it is actually a download):
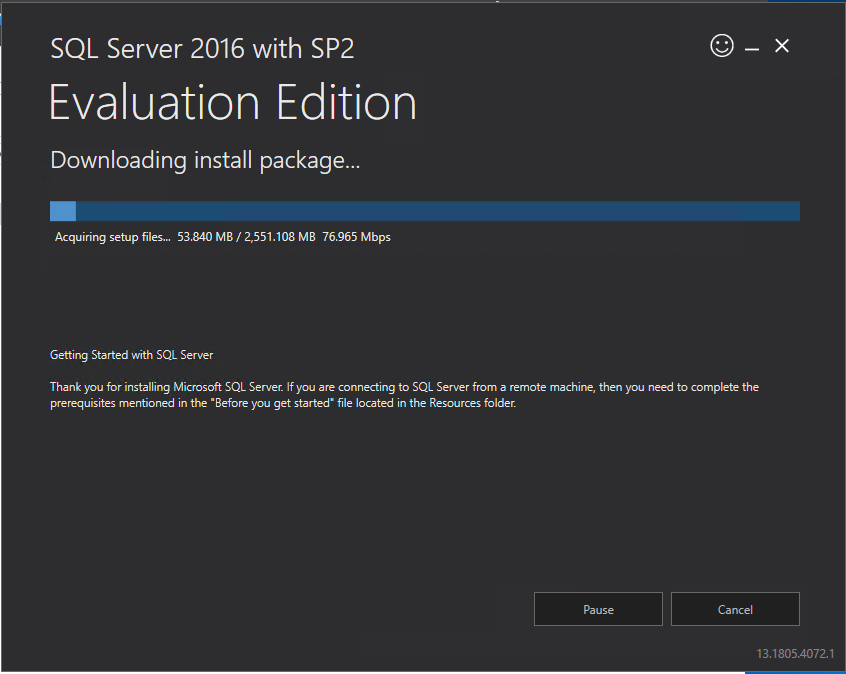
Download of all files and .exe will start (download and extract will take a while):
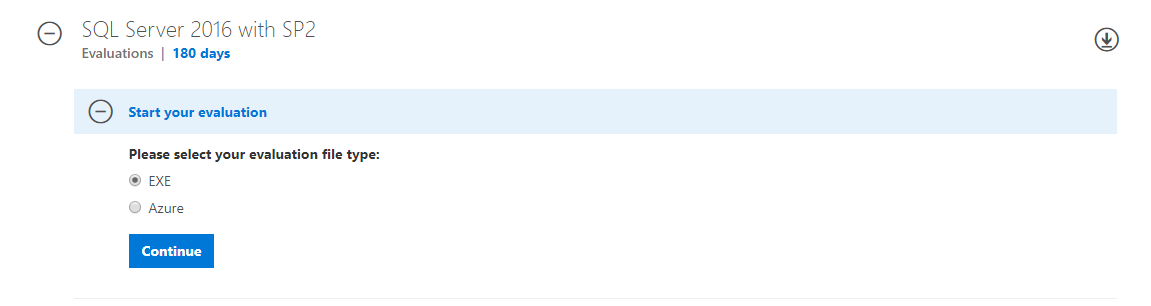
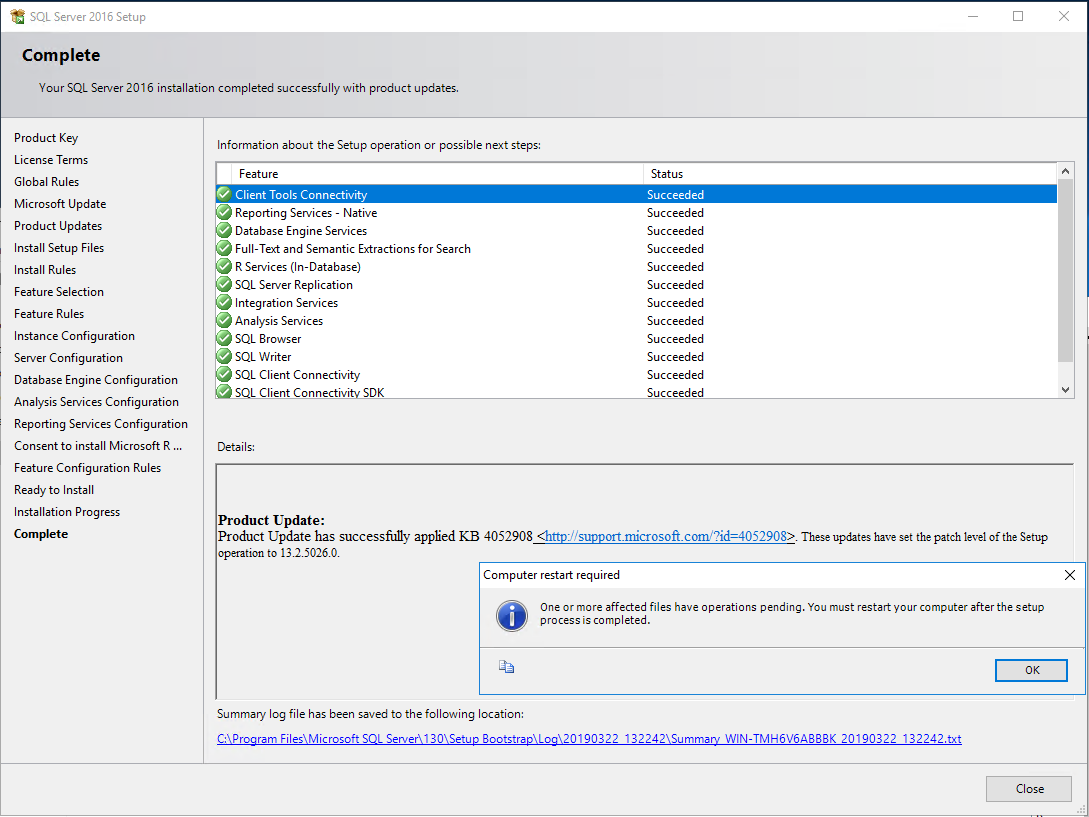
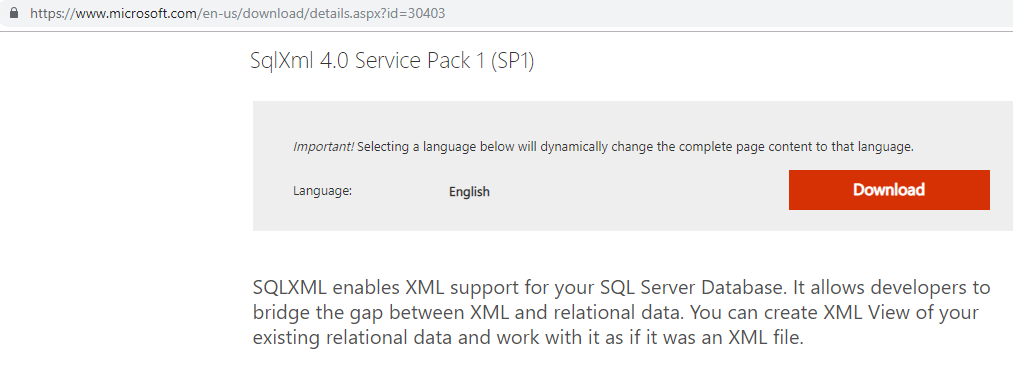
How to install SQL Server 2016 SP2:
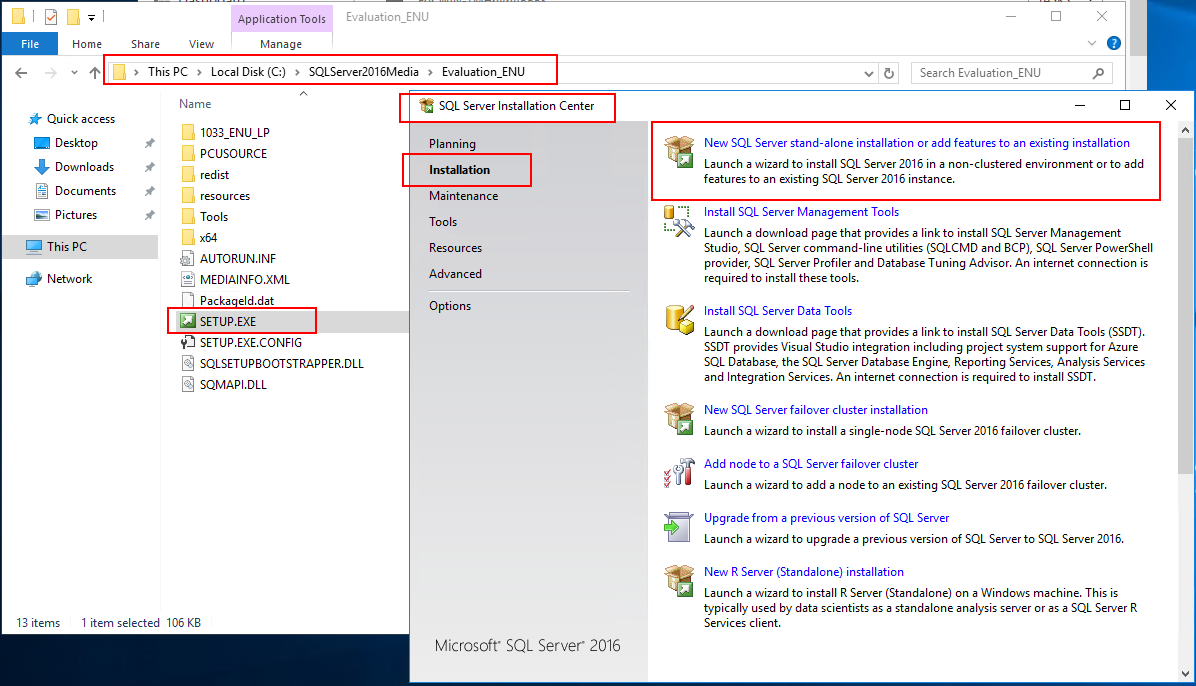
Go to the
download location and browse to: C:\SQLServer2016Media\Evaluation_ENU
execute the SETUP.EXE file as Administrator and choose New SQL Server stand-alone installation or
add features to an existing installation:
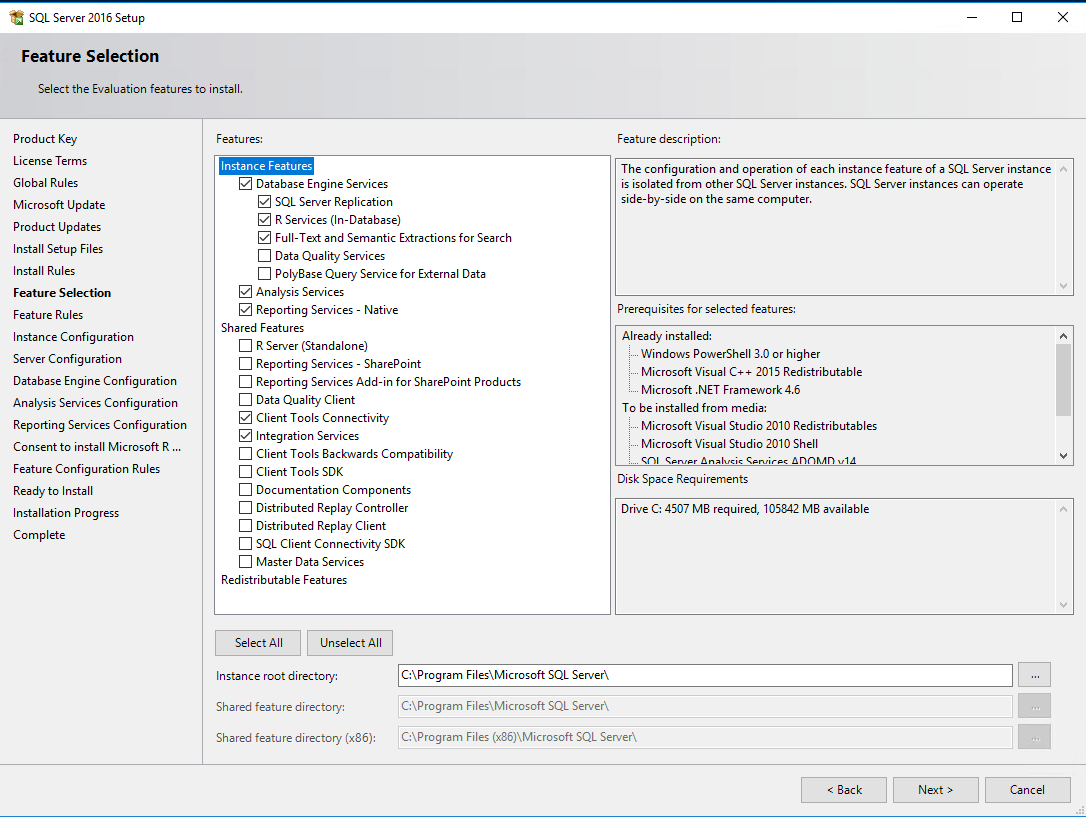
SQL Server
2016 Setup will start:
Table show
settings in the different sections:
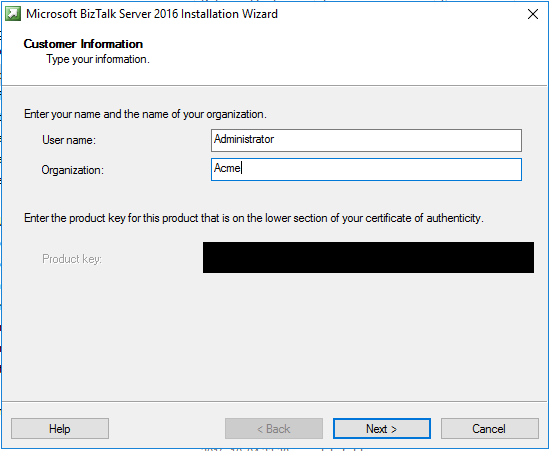
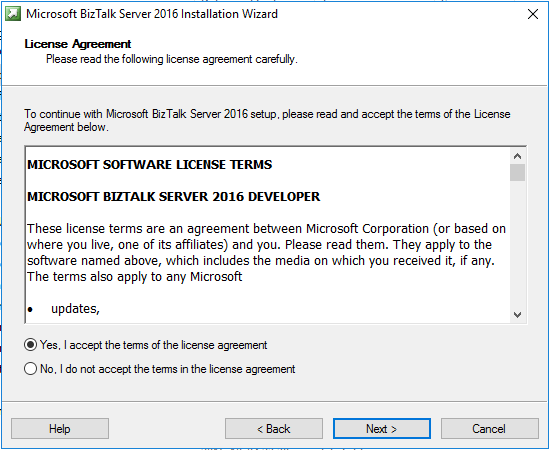
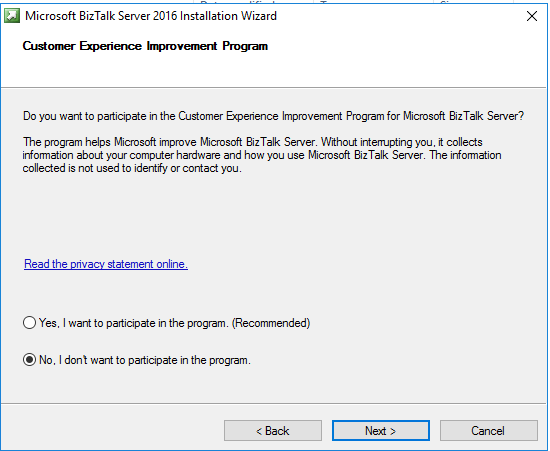
Step
Selection
Product Key
Evaluation
License Terms
I accept…
Global Rules
[Make sure the test passes.]
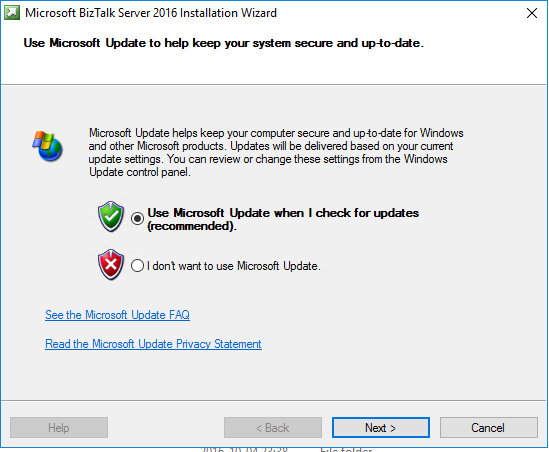
Microsoft Update
Don’t use the Microsoft Update check. With this option, setup will skip some steps.
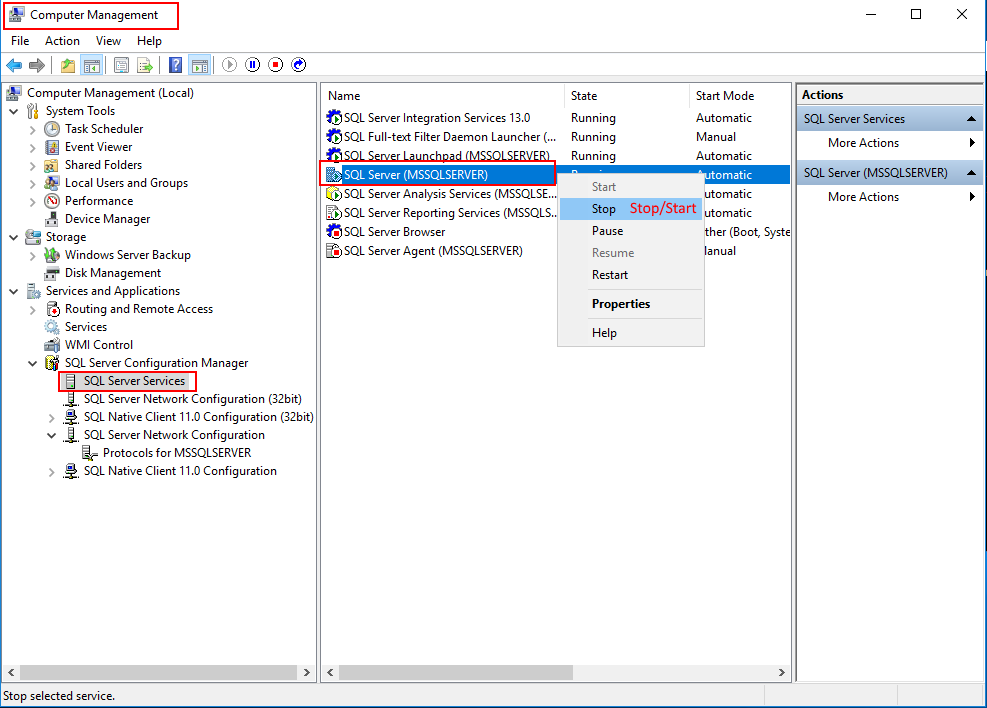
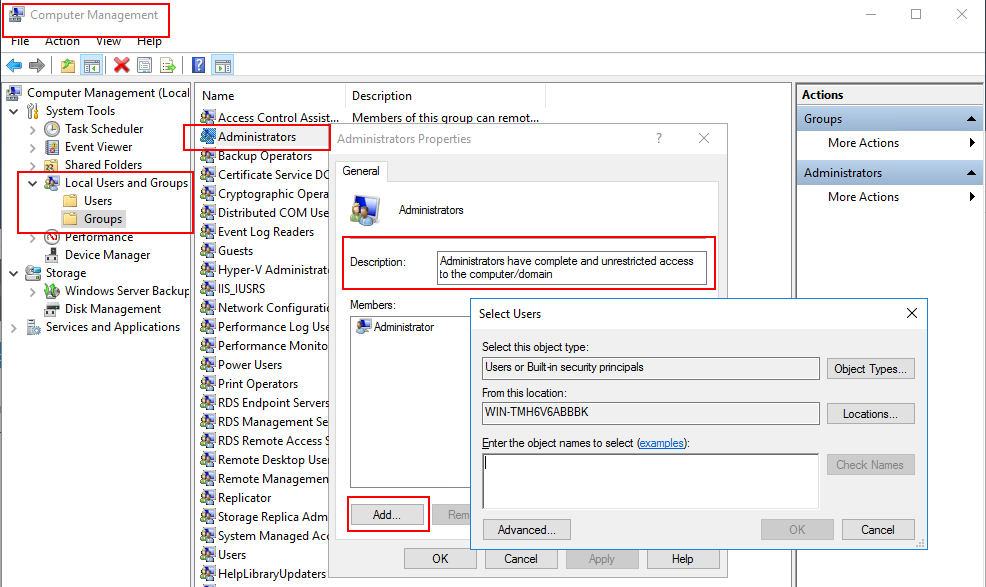
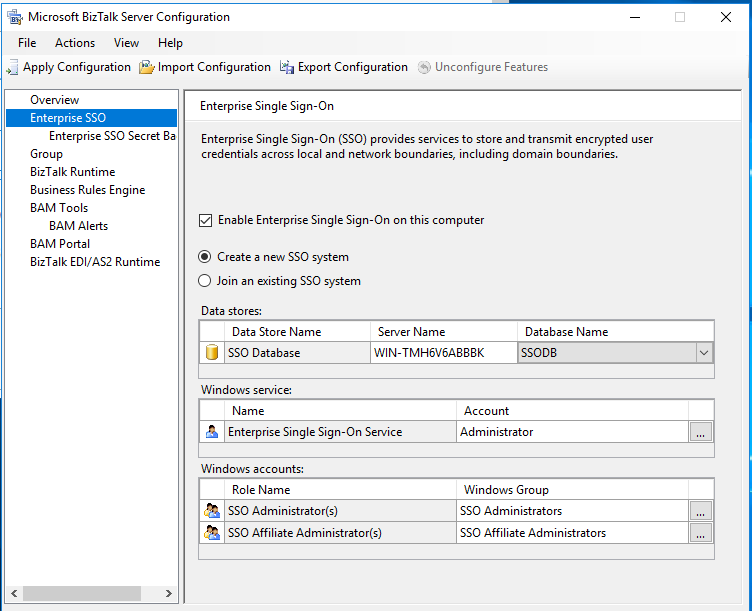
When
installing SQL Server and BizTalk Server on the same machine, it impacts the
performance on BizTalk server negative. With a simple configuration we can
avoid this unwanted behavior.
Go into the
computer management (right click Start).
Click your way to the dialog showed on the image and set Shared Memory Properties – Enable to NO:
Now, as described
in the prompt, restart (stop and start) the service:
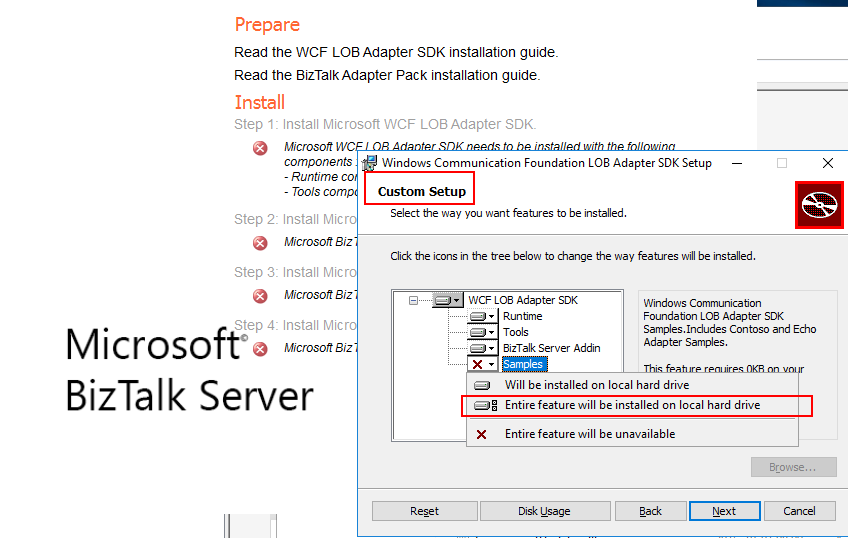
This tool
is not a requirement for BizTalk Server. However, it is the most common IDE for
MS SQL and it will be handy to have it on the same machine while learning
BizTalk.
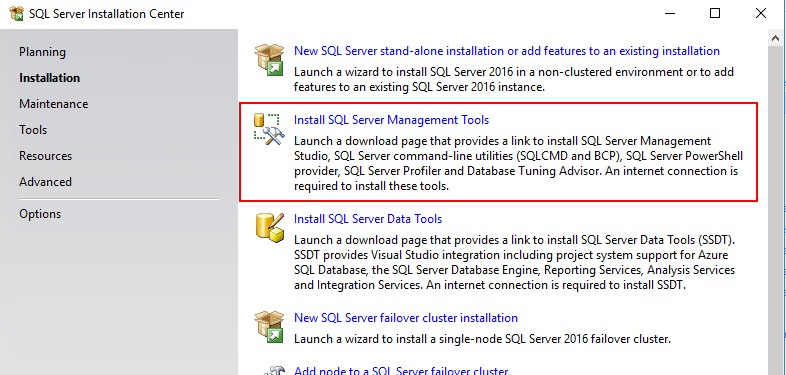
Install it
from SQL Server Installation Center:
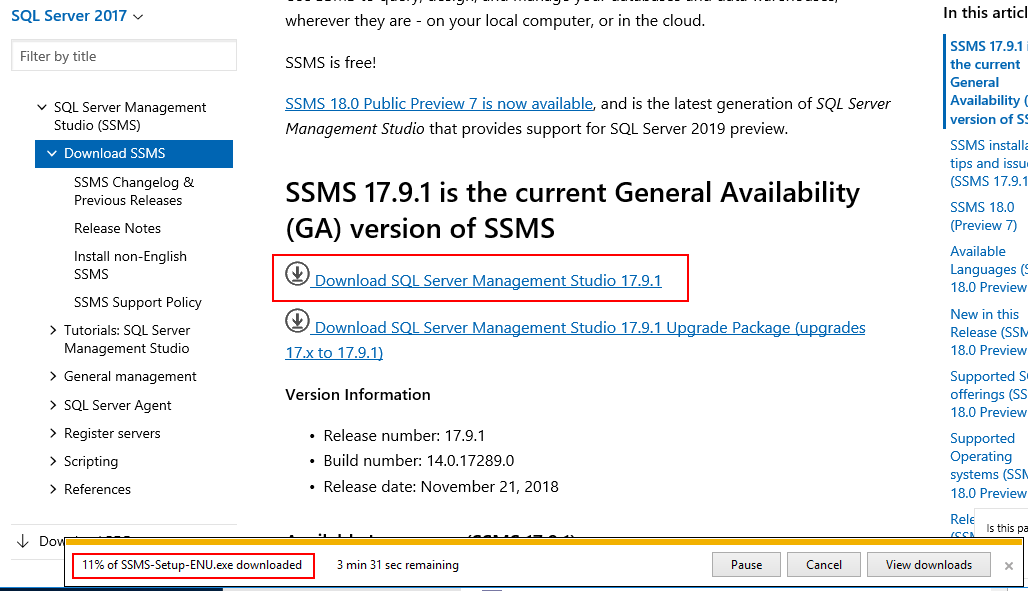
Link will
take you to download page:
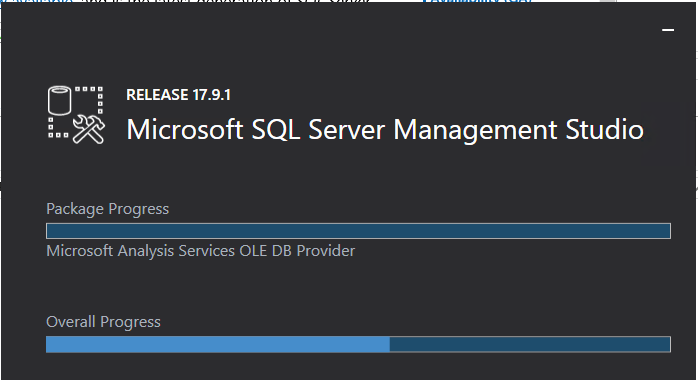
The
installation is pretty straight forward. Run the .exe file as Administrator.
Restart the
computer.
Open Microsoft SQL Server Management studio 17
(SSMS).
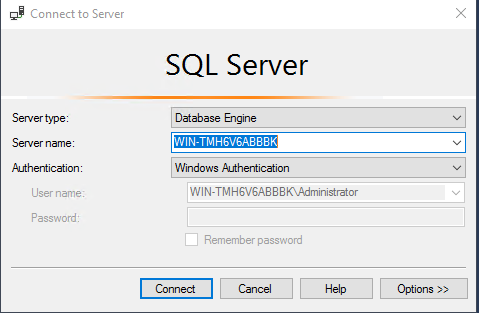
Connect to
the SQL Server installed on your computer:
Now you
will be connected to the local SQL server and you can manage it from SSMS.
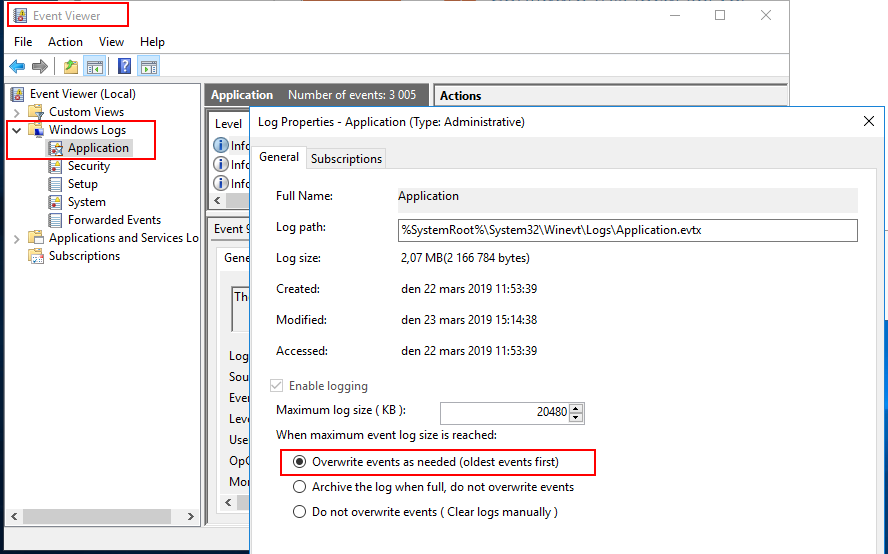
Sometimes
the Event Log can grow too big. If that happens during BizTalk Server
installation, it wont properly be installed. To prevent this unwanted behavior,
do the following:
Start-> Event Viewer-> Windows Log->
right click; Application-> Properties->Overwrite
events as needed.
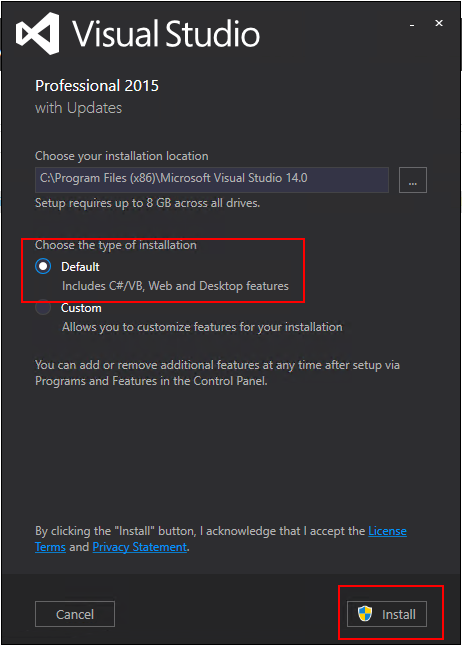
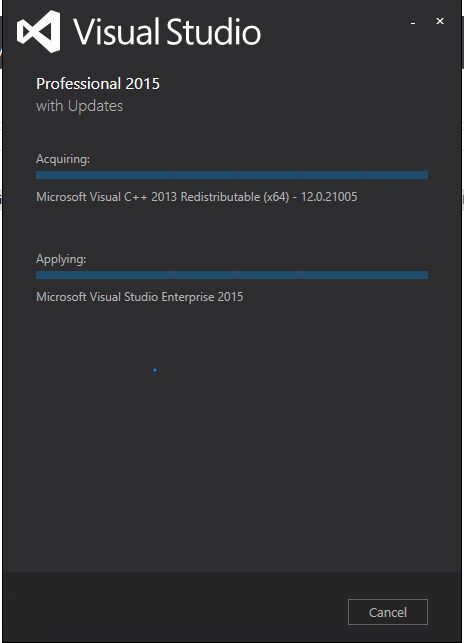
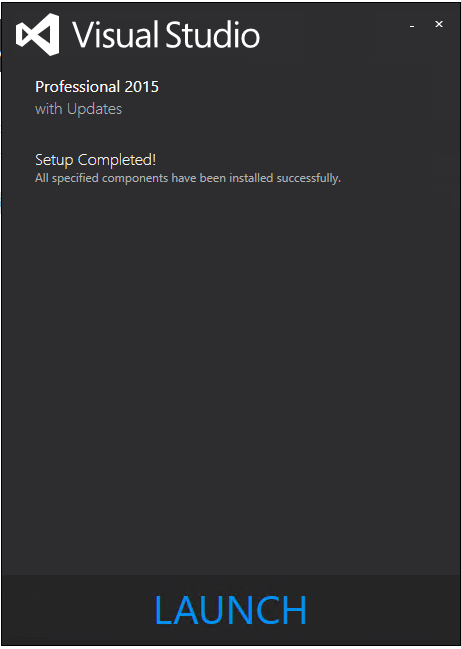
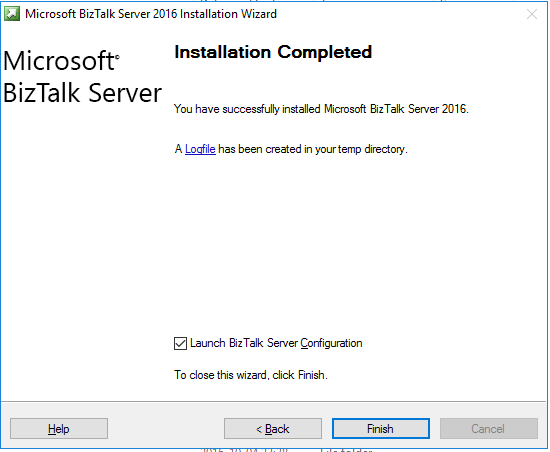
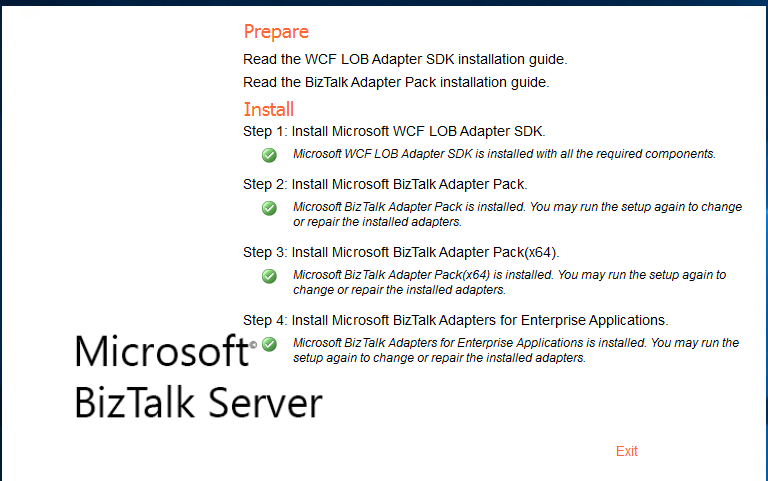
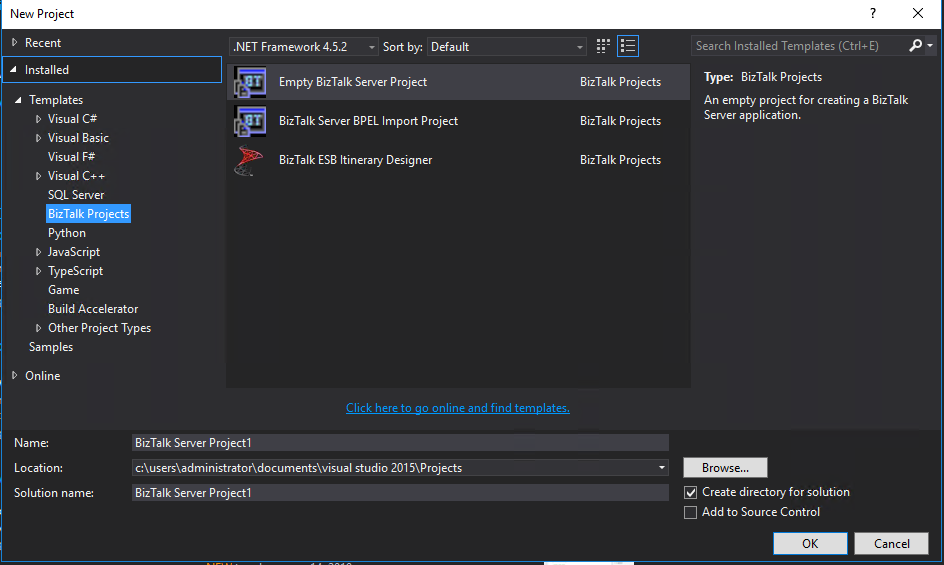
After you
have installed BizTalk Server, a SDK for developing BizTalk Applications has
been added. You can now start developing BizTalk Project from Visual Studio
2015:
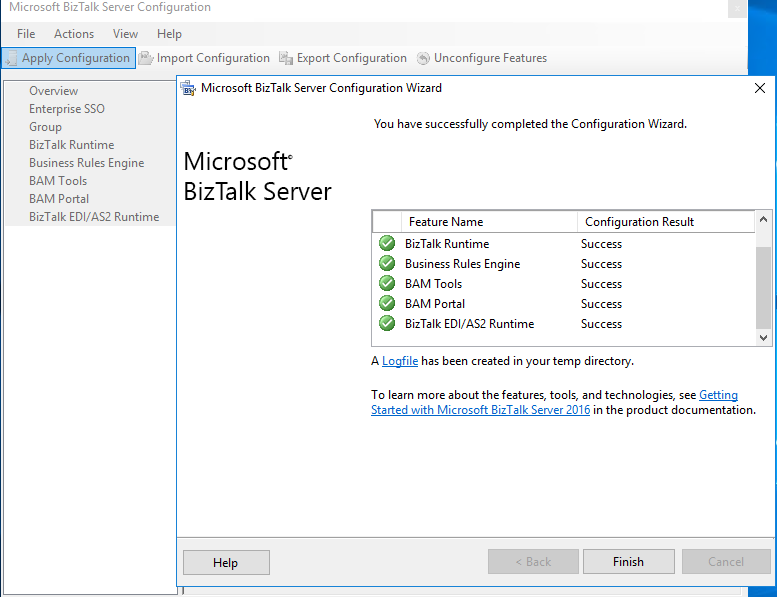
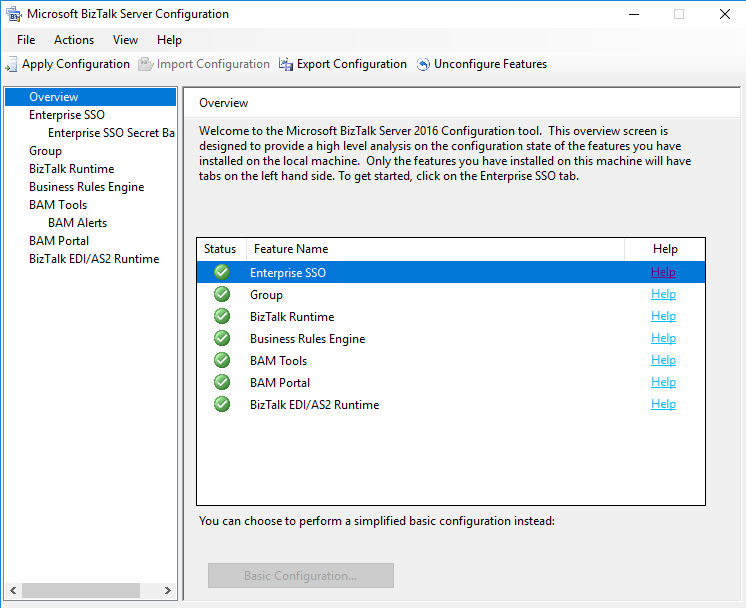
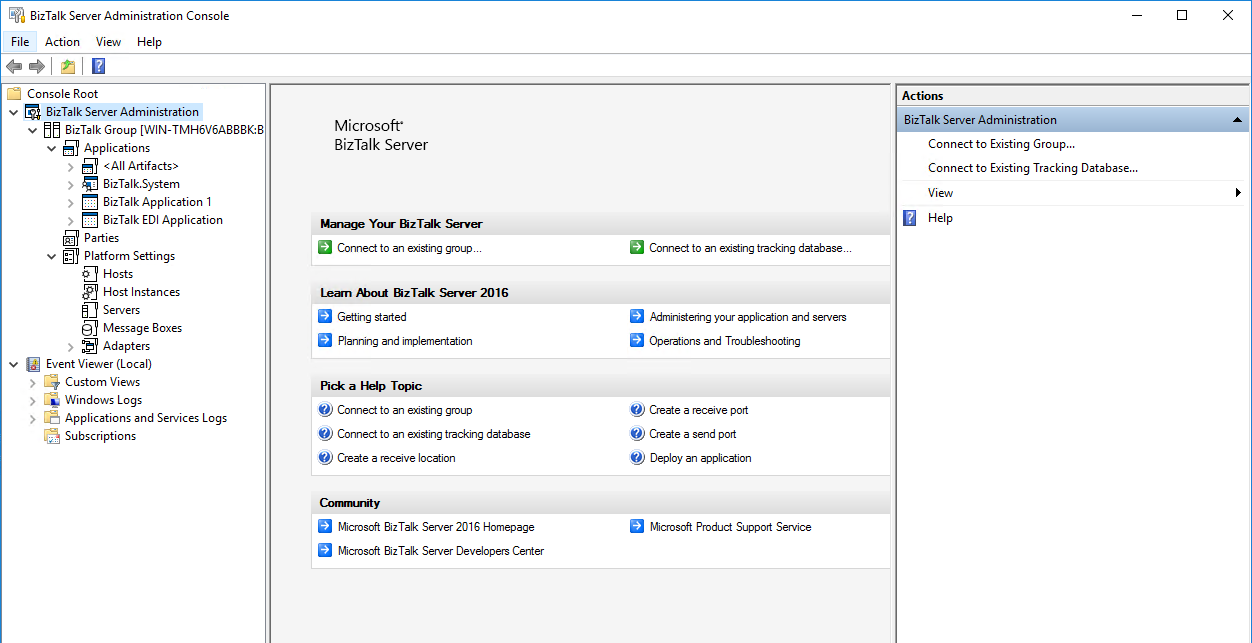
BizTalk
Server Administration Console is the application where you will administrate
all your BizTalk applications:
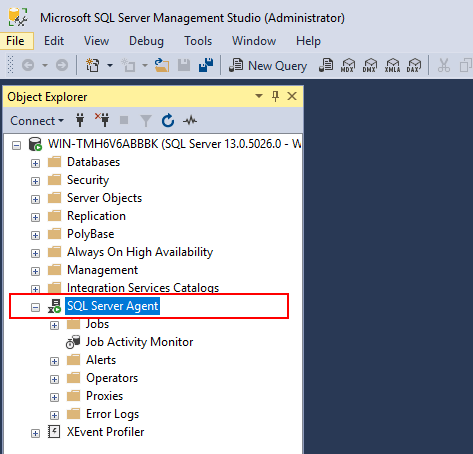
Make sure
that the SQL Server Agent is running (right click start.):


One Response to “Install BizTalk Server 2016 on a single machine”
Simon
Grym guide!
Exakt alla detaljer finns med för att få detta att fungera, tack!